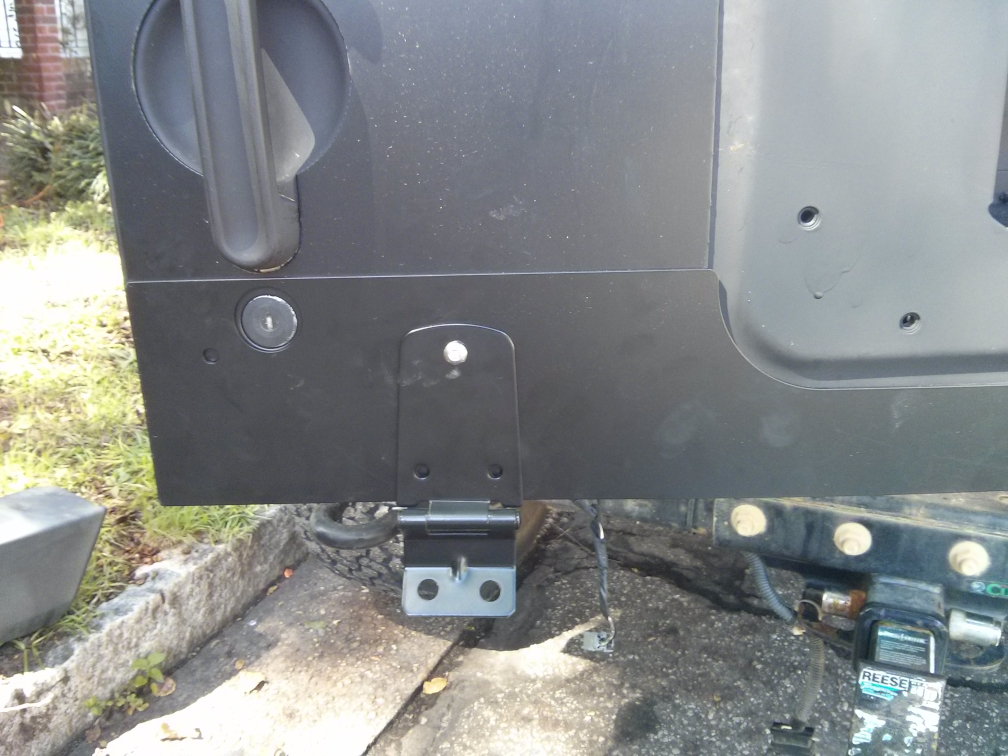
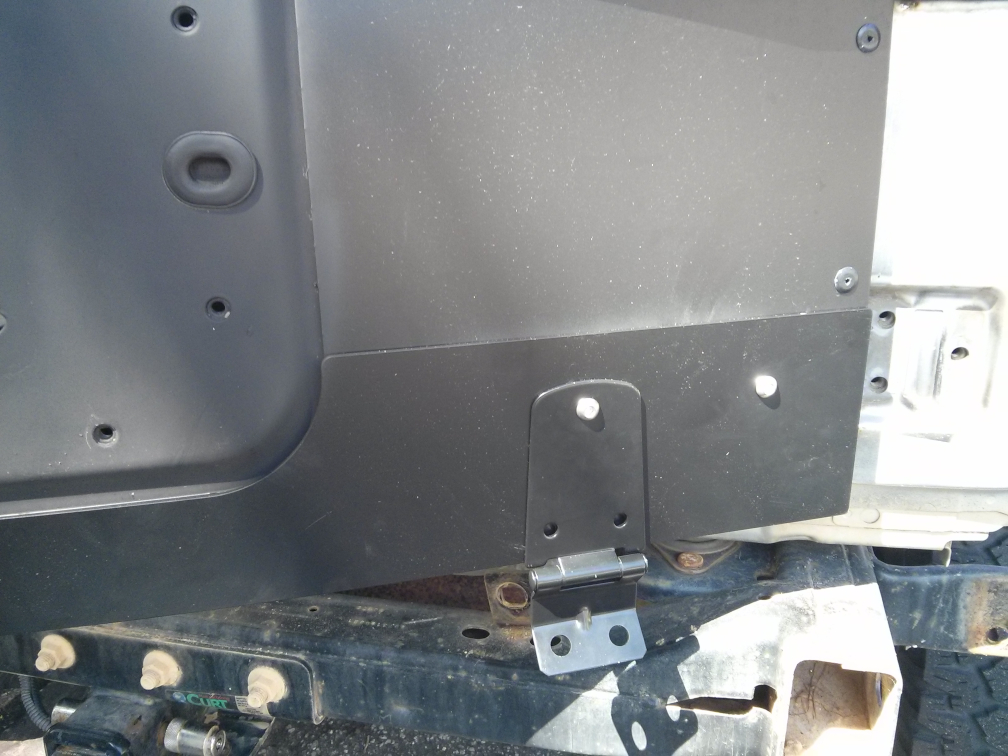
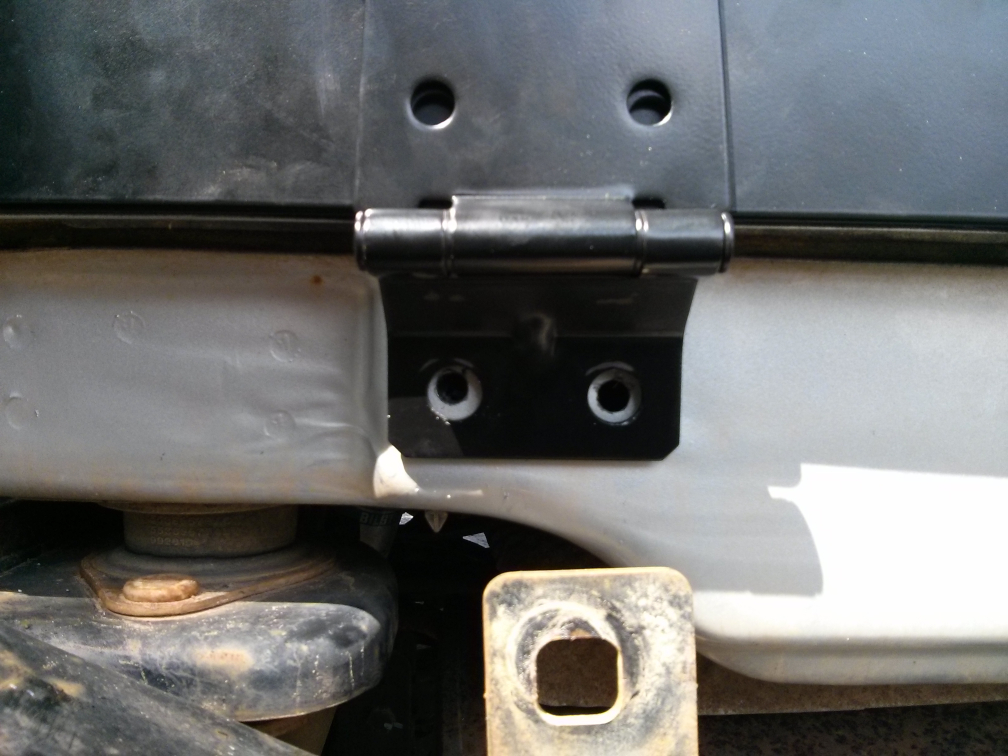
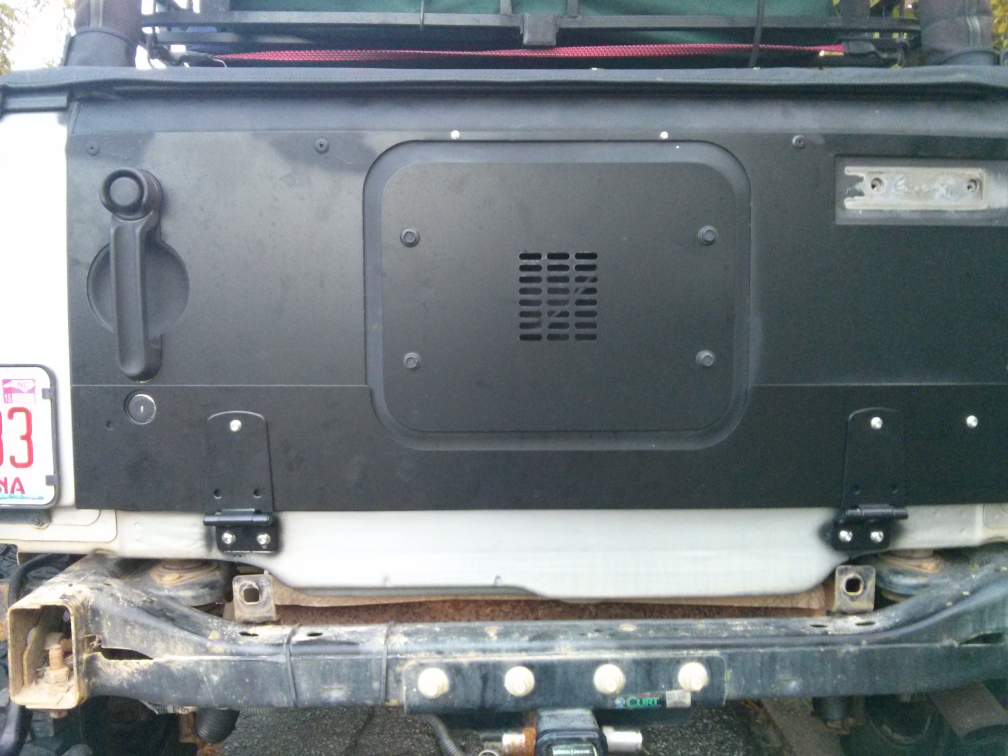
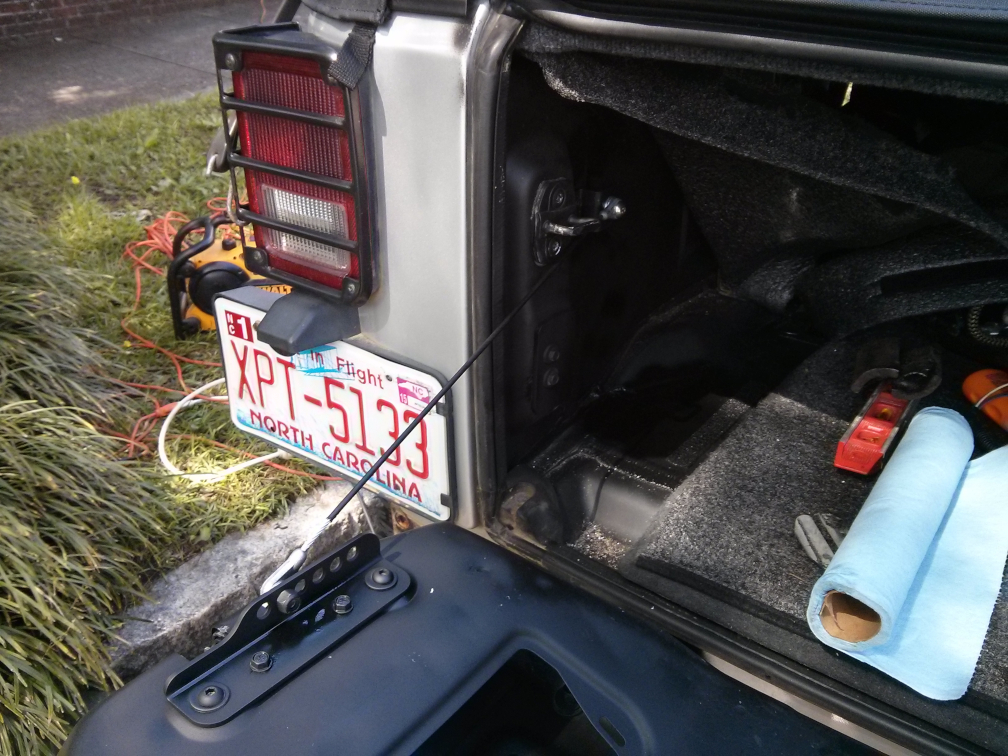
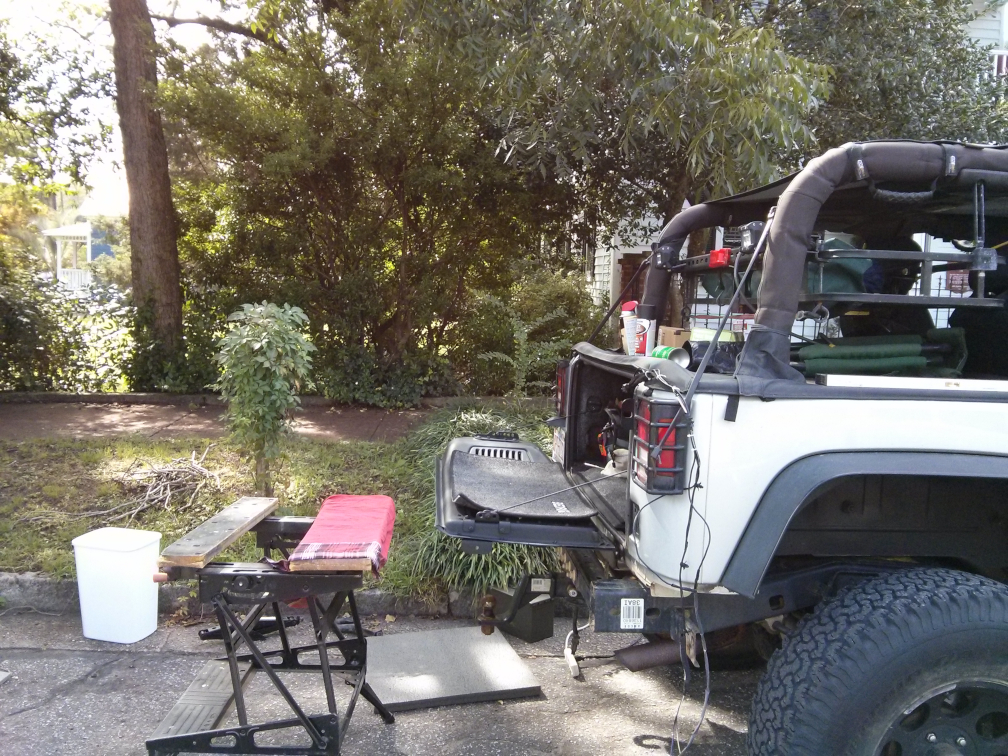
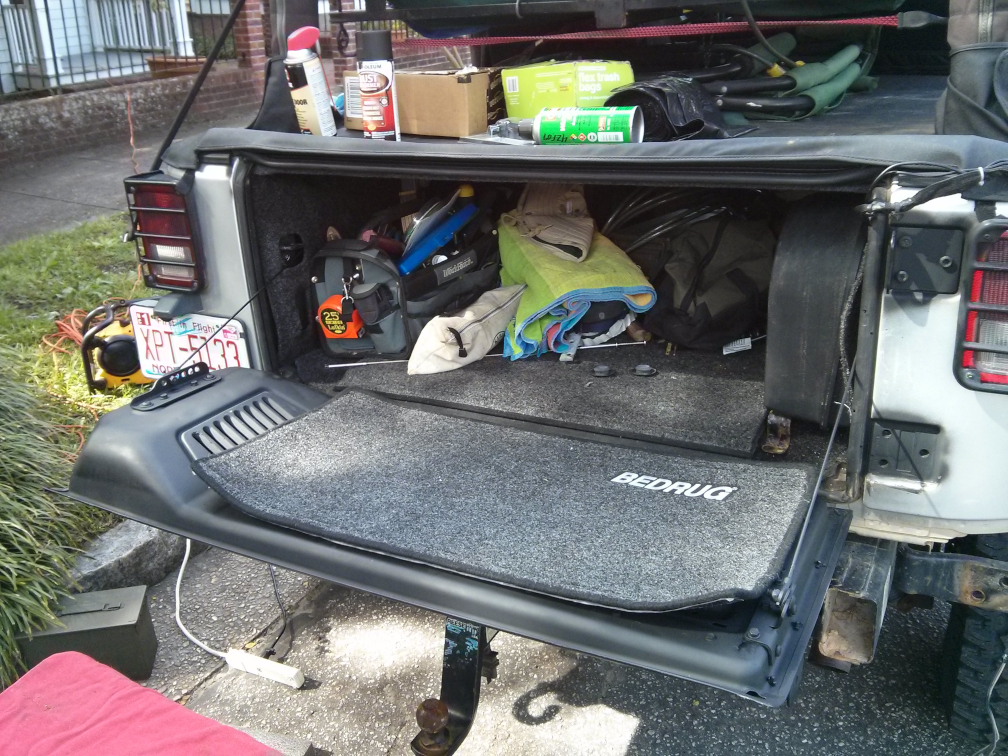
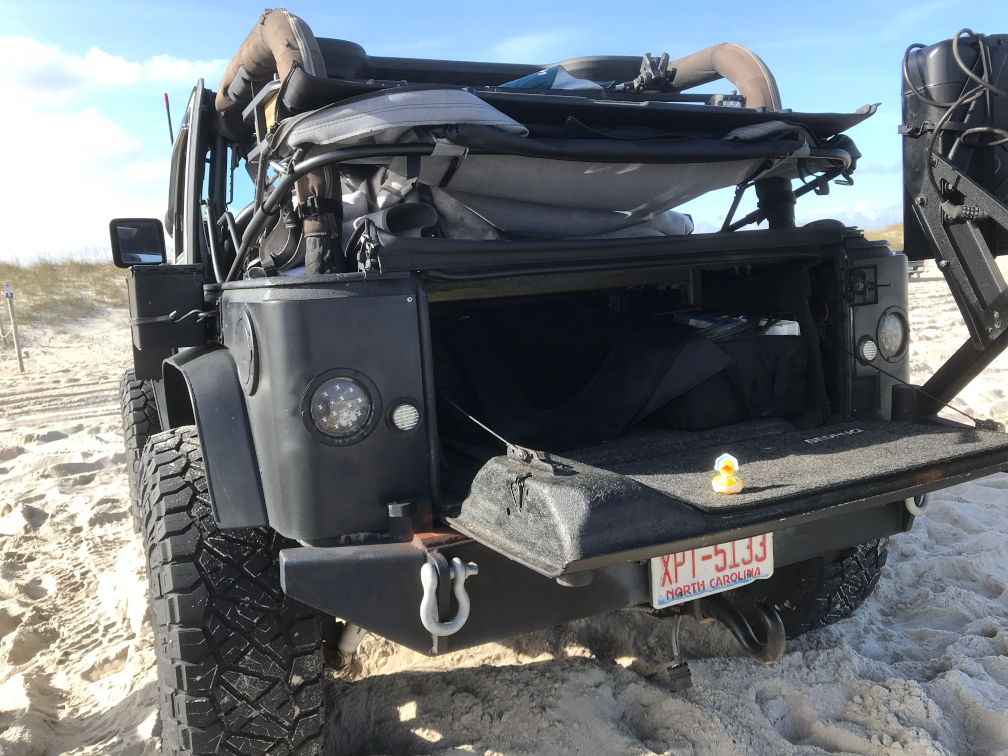
This mod I didn’t create from parts laying around like the others. I was going to use an industrial piano hinge to do this. My Wife found the tailgate mod by Swag and gifted it to me! The instructions were good and it was an easy mod to do on a sunny afternoon. The tailgate supports my Wife and I both sitting on it with no problem.
jeep.blog


jeep.cans
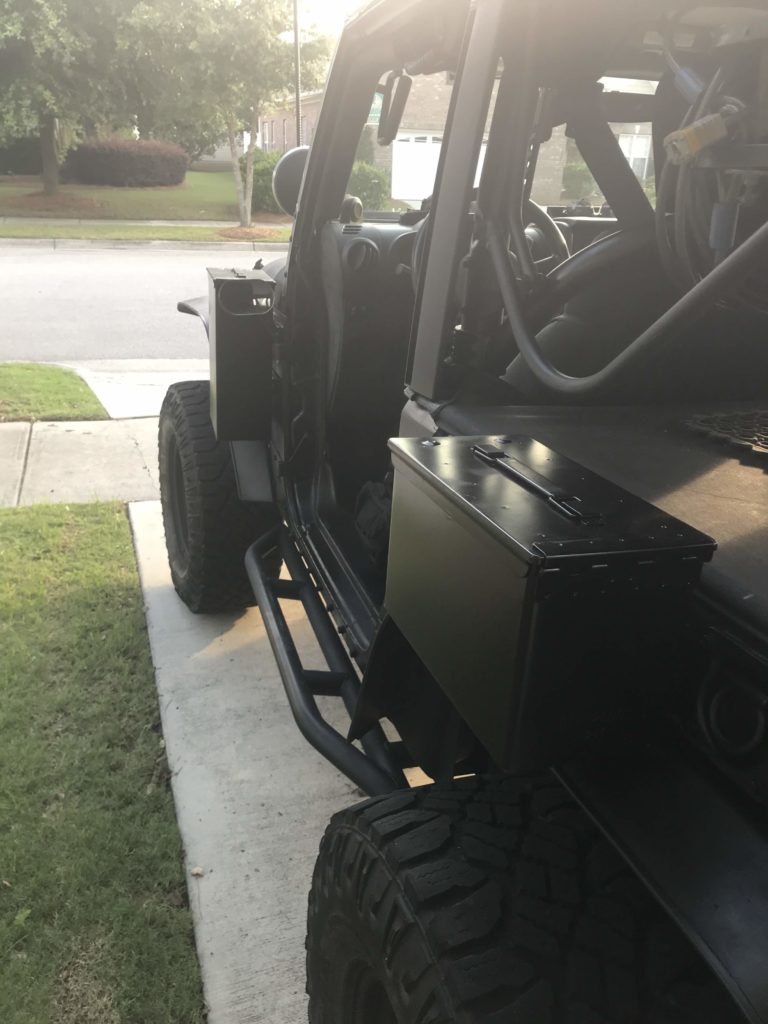
To address a need to have storage for beach days I decided to make use of a few ammo cans I had laying around. The tiedown locations fit the width of an ammo can perfectly.

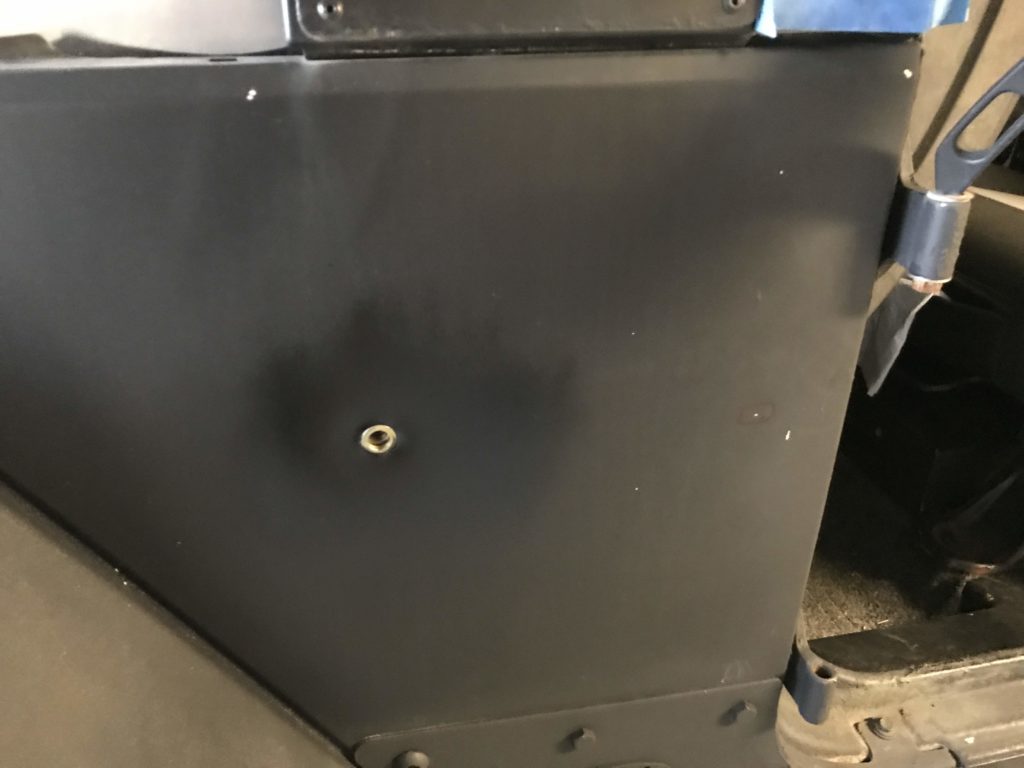
Drill the jeep body and install 3/8″ nutserts
Level and attach super strut to nutserts.
Same plan for the rear cans.
Paint if needed.


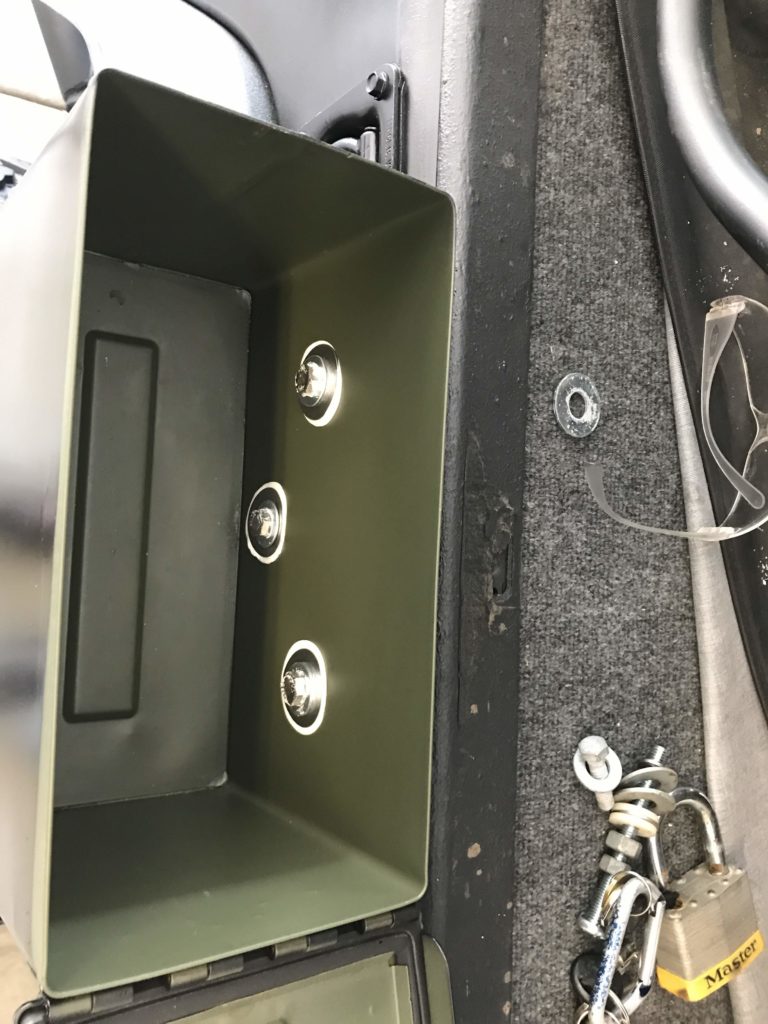
Drill out the ammo can and attach to super strut using spring loaded nuts. Seal the bolt holes using flat washers and silicone.
The lid of the ammo can seal is tight, but it’s weather proof. Coat the inside with a little lithium grease if you want it to open easier.
I didn’t paint the inside but if you wanted it all to match it would be easy to do.
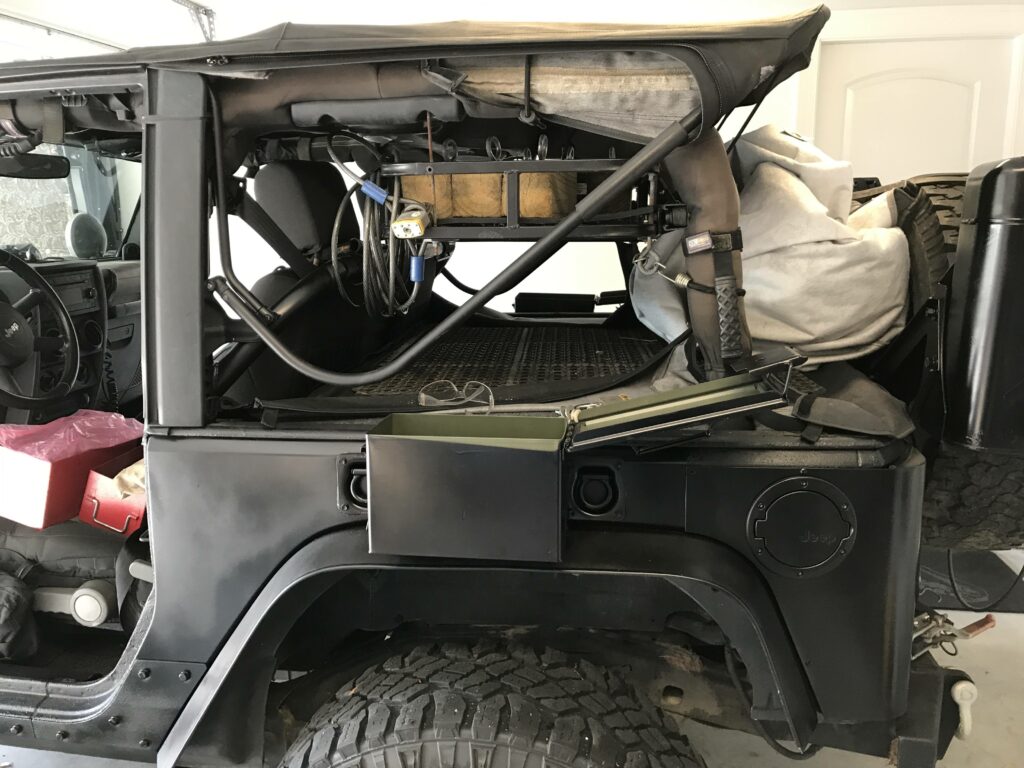
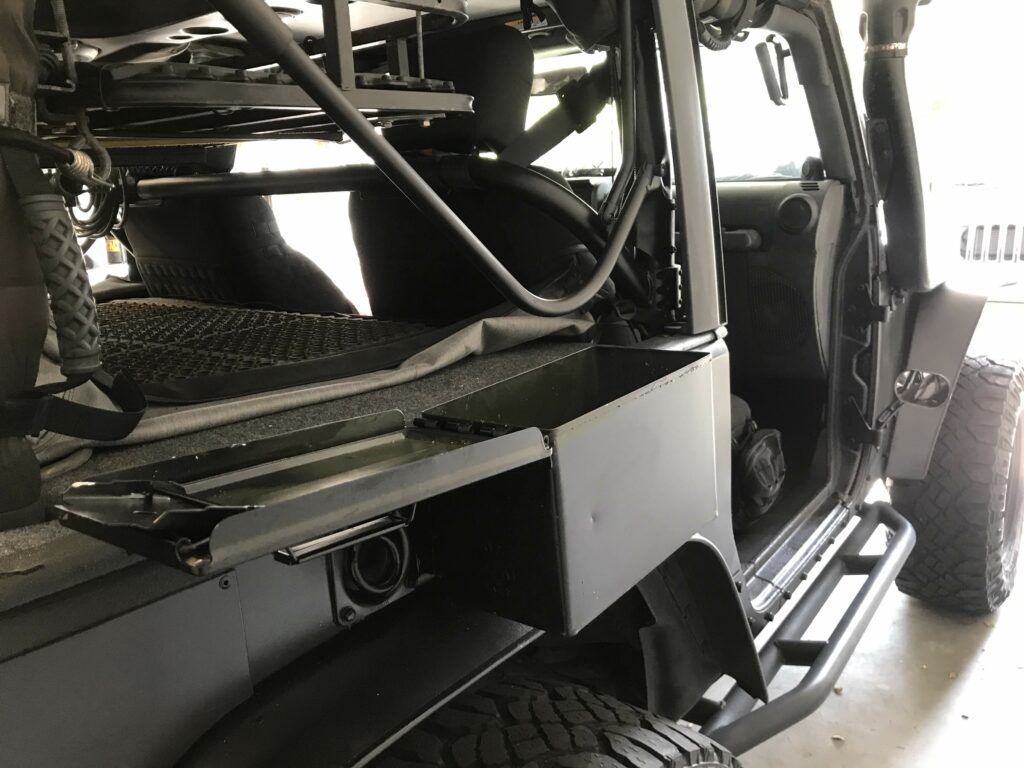

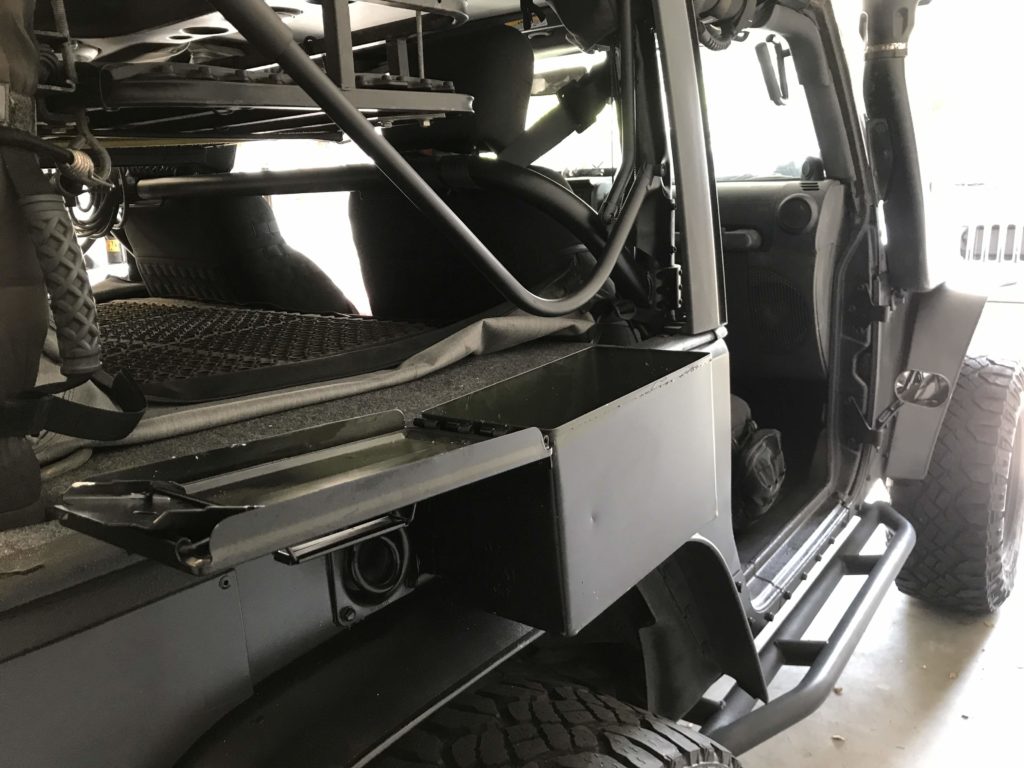

The front ammo can I put support underneath it also. The mounted cans are very useful for a day at the beach to hold utensils, beverages, plates…..pretty much whatever you can fit in them. You could fill them up with ice also if you wanted a cooler.
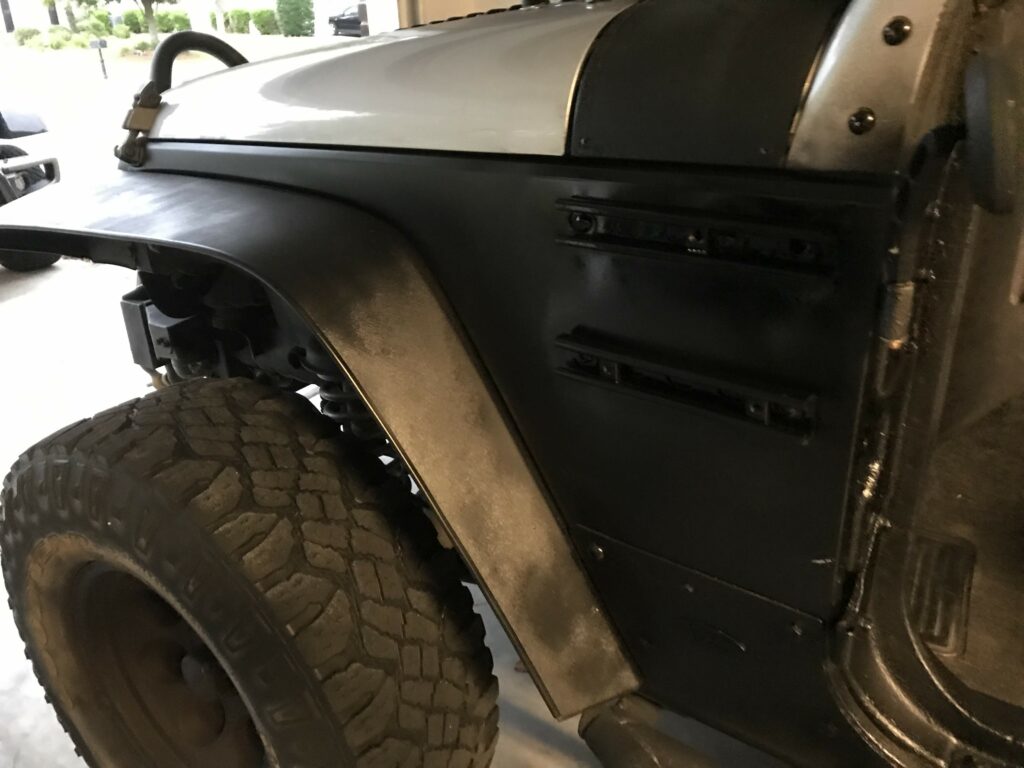

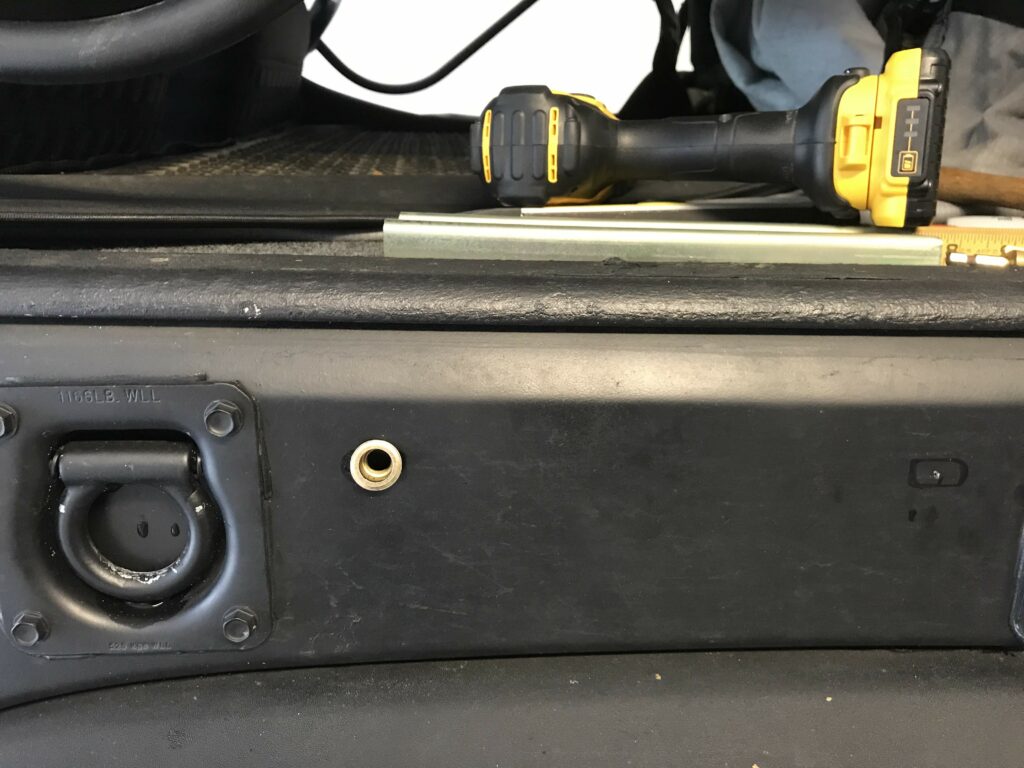
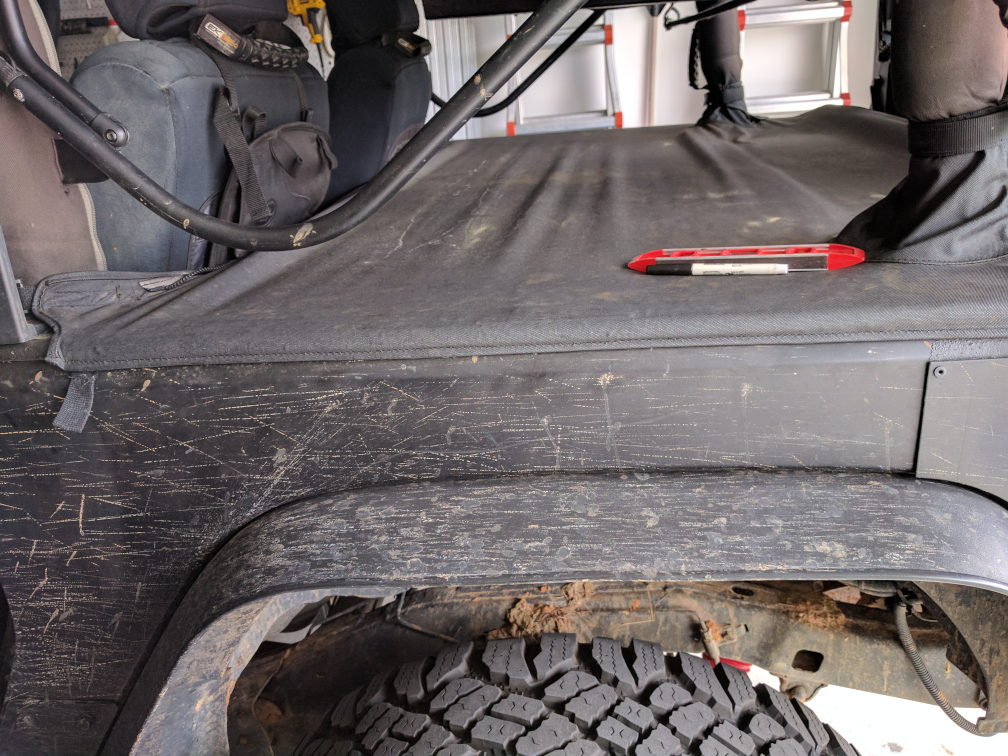
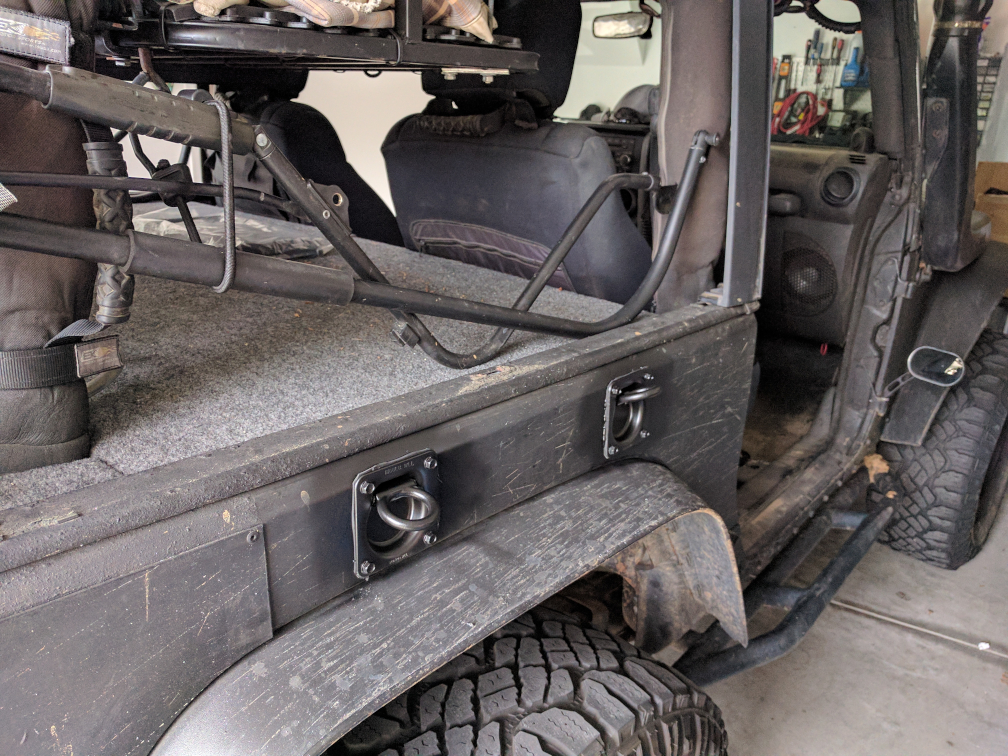
jeep.tiedowns
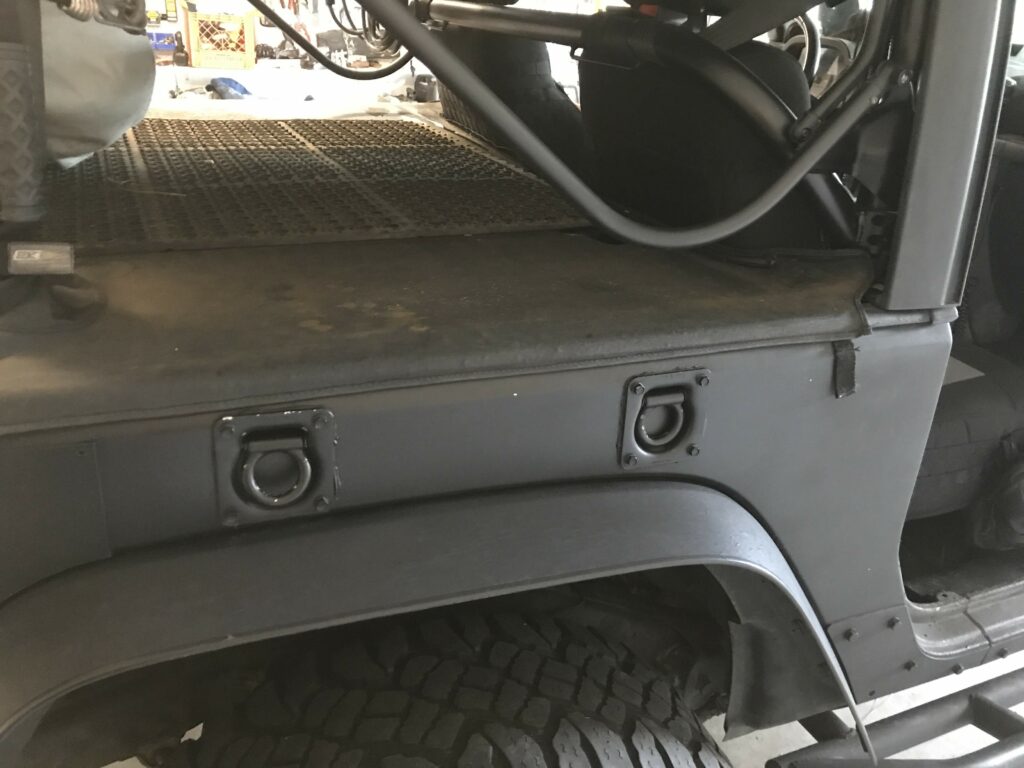
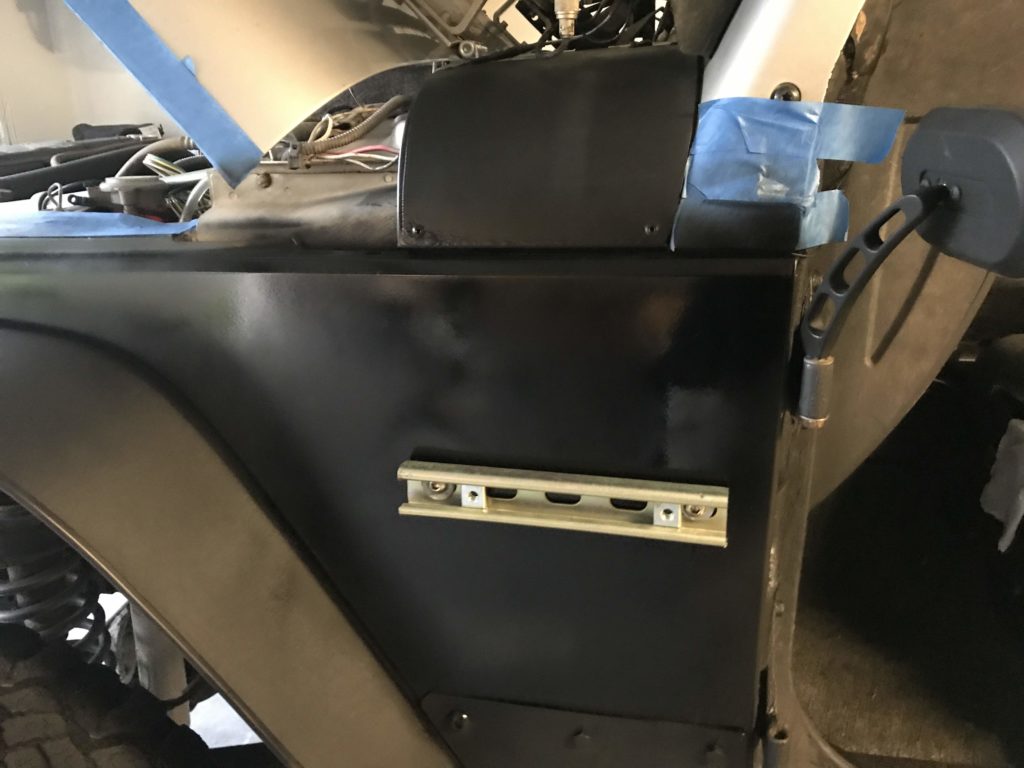
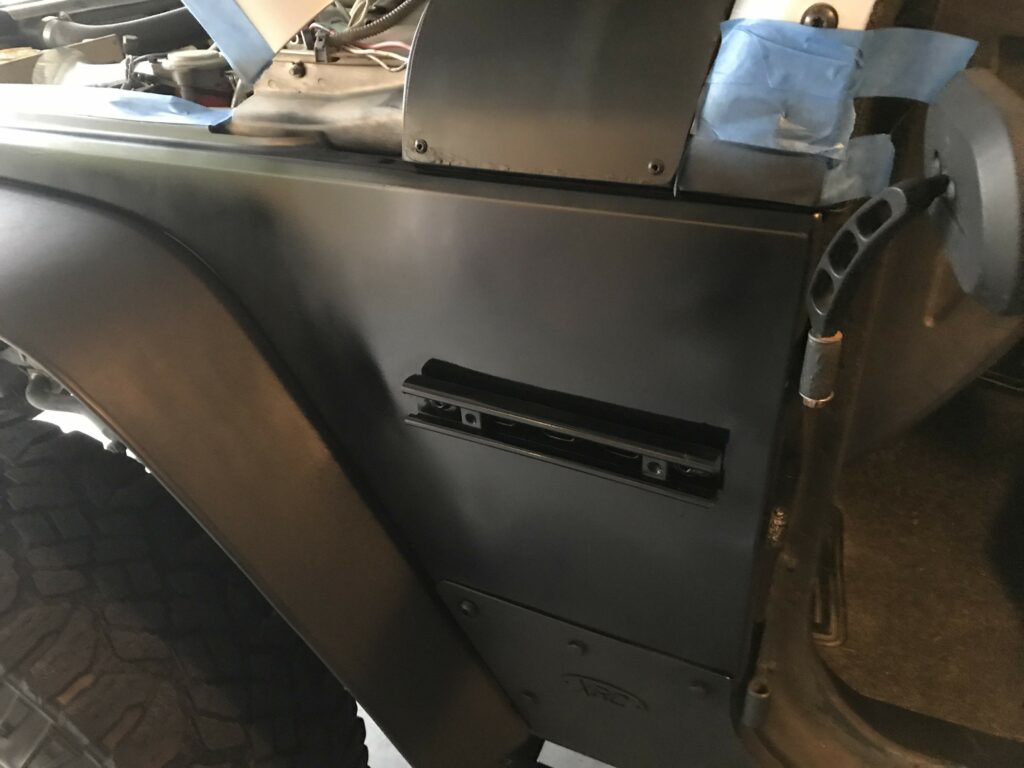
You’ll need a tape measure / rule, hole saw based on the size of the tie down you use and a drill motor. I installed the tie downs far enough apart to fit ammo cans for the JEEP cans project.
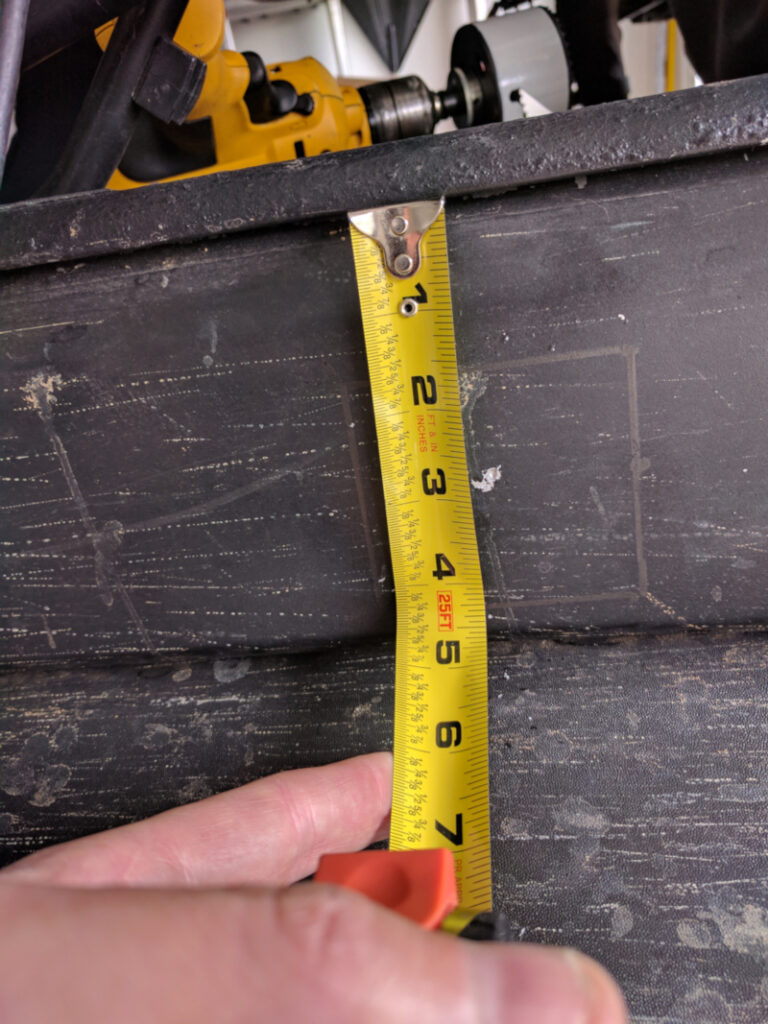
Measure between the edge of the fender and the rail. You can center or make the mark a little closer to the fender. You can always grind to fit so don’t worry too much about getting this exact.
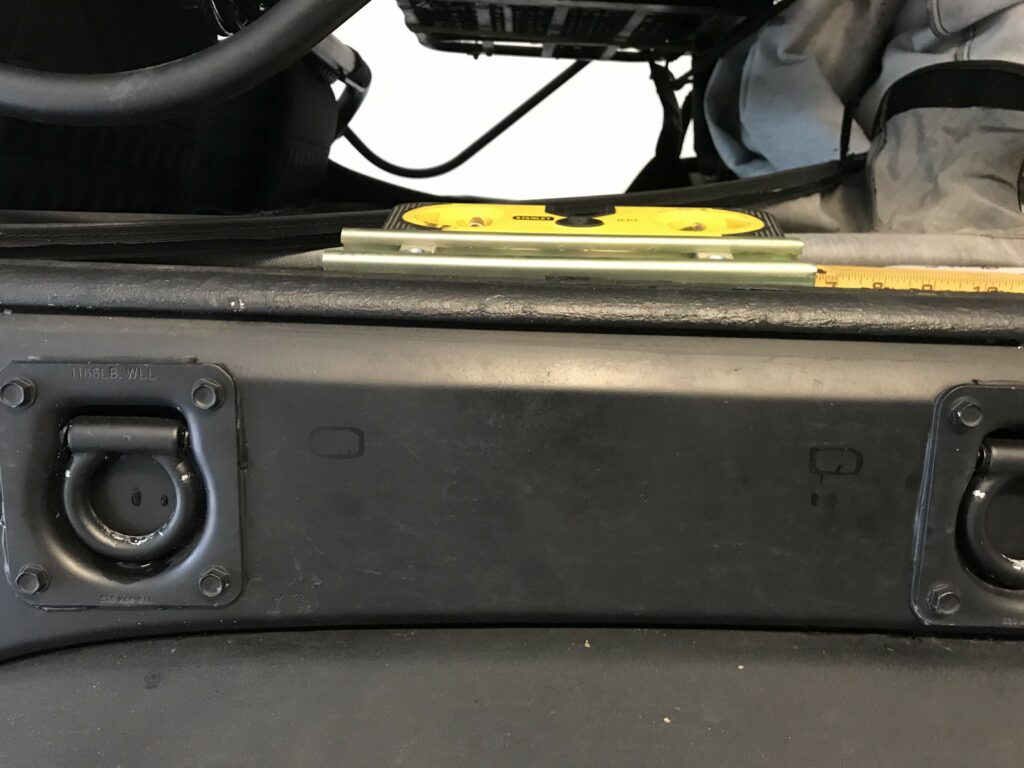
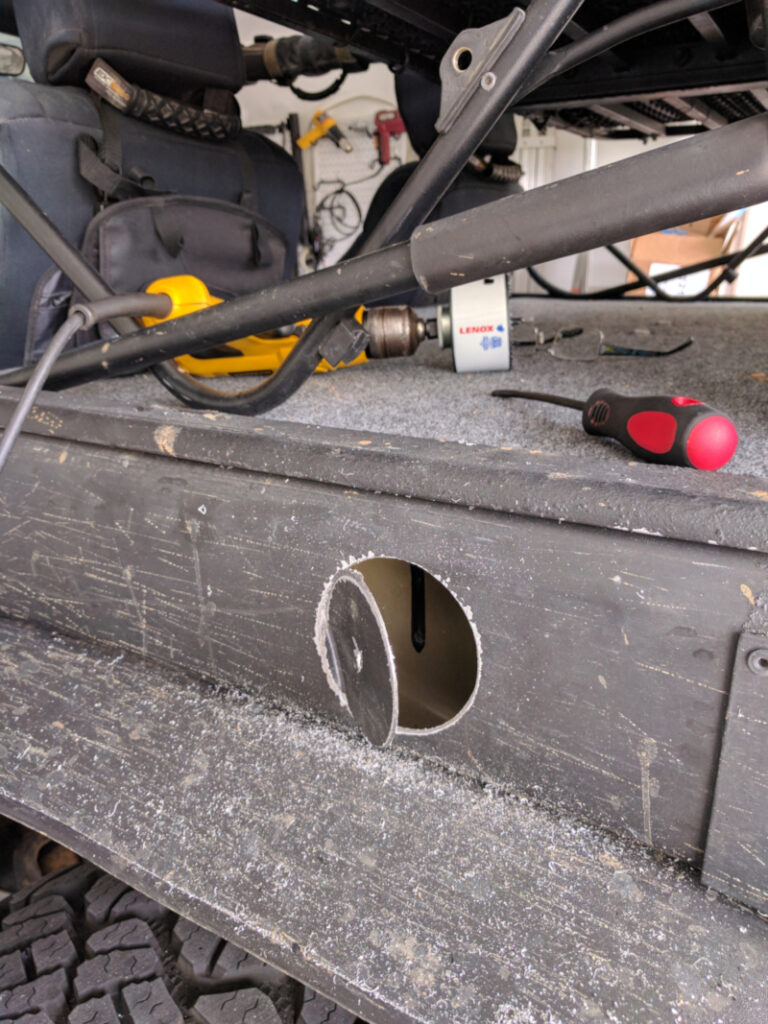
Drill the pilot hole and score the cutout spot to check your work. I went with lining up the bottom of the tie down with the top of the fender flare.


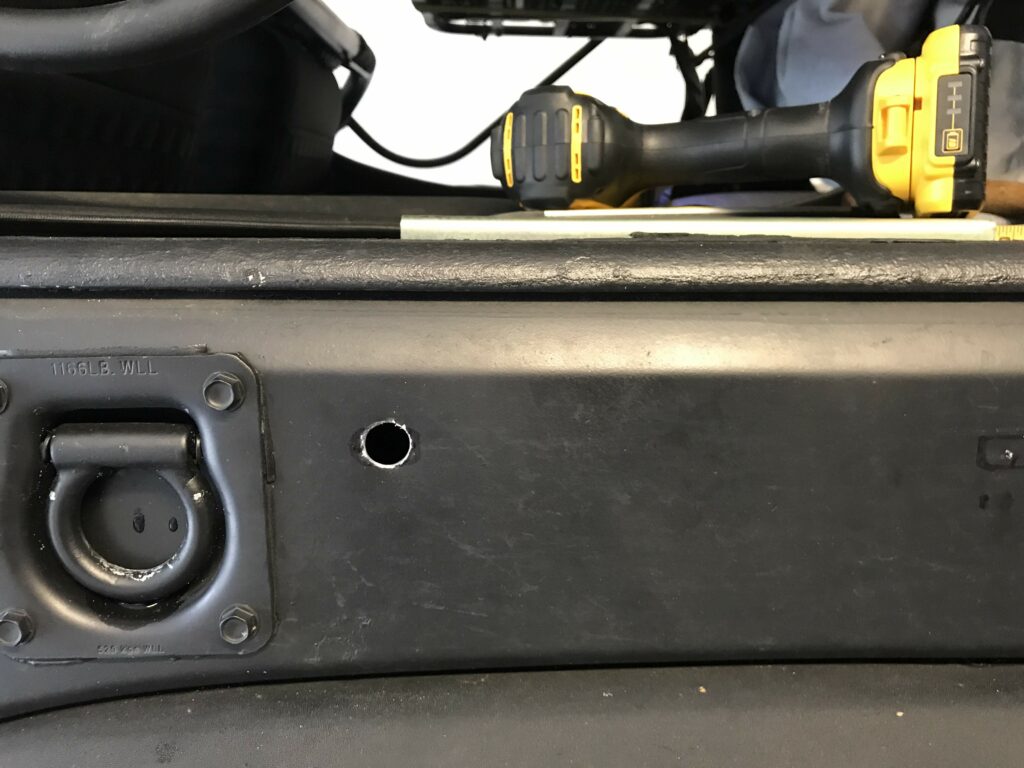
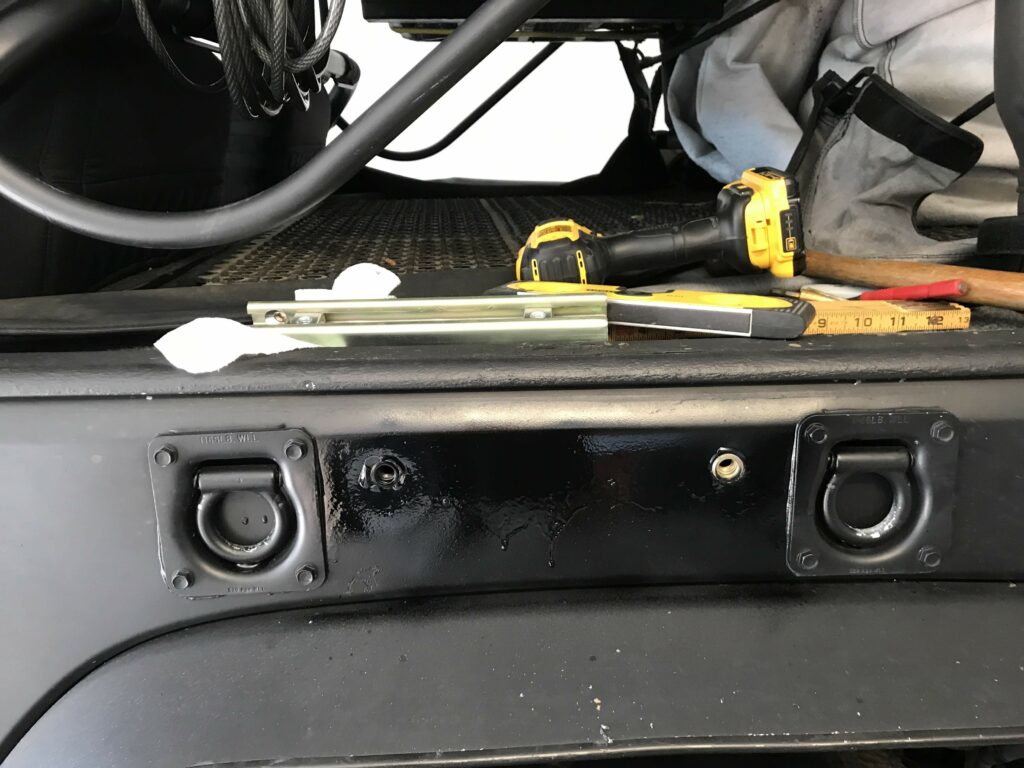
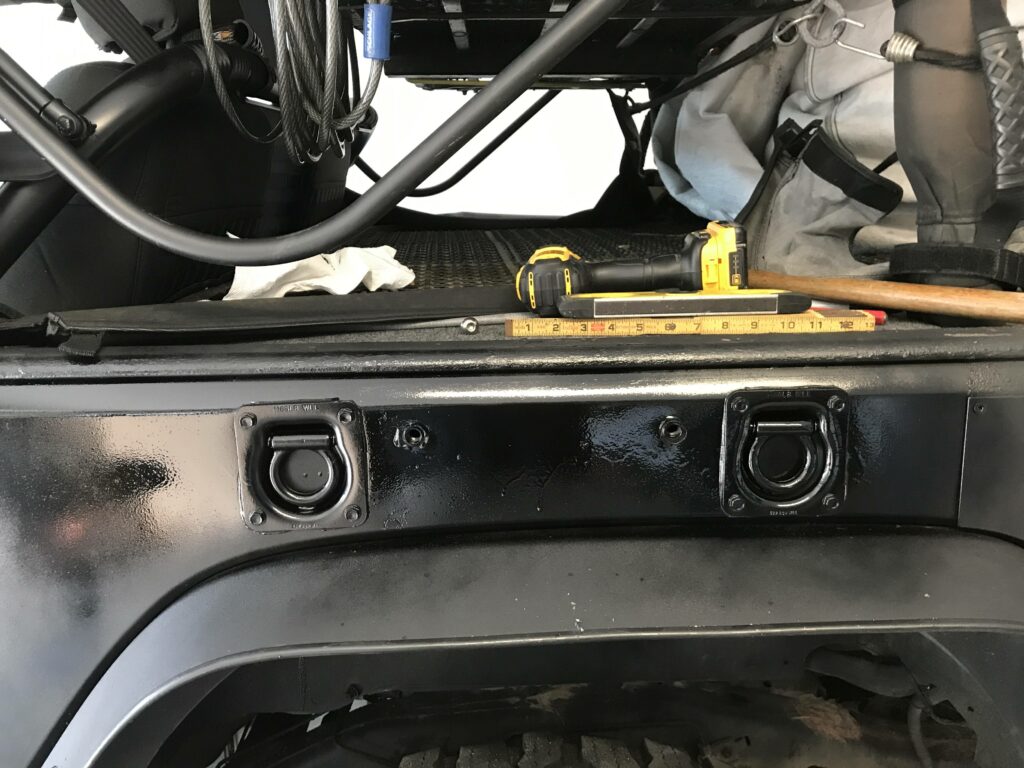
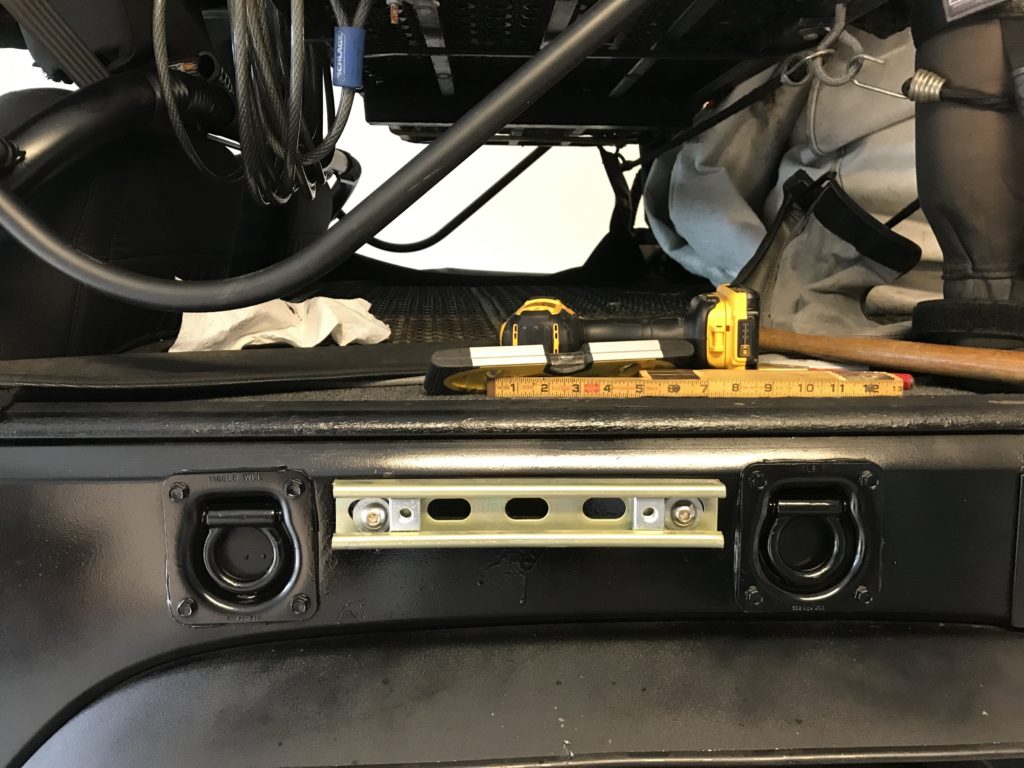
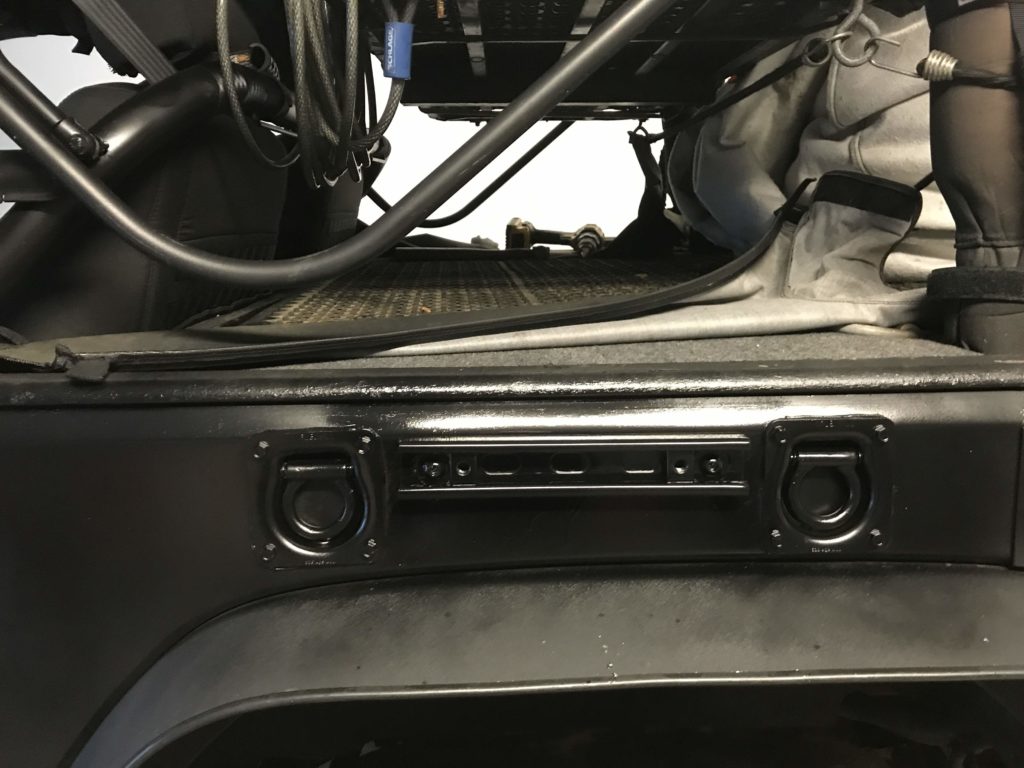
Drill out your hole – there is a considerable amount of open space in there if you wanted to fill it with dampening material. If you’re going to use these to hold heavy weight you may want to add steel reinforcements inside the cutout area. I use them to hold down grills / coolers / chairs / lumber and other materials occasionally. If you plan on using these to hang a hammock you may want to consider using steel reinforcements.

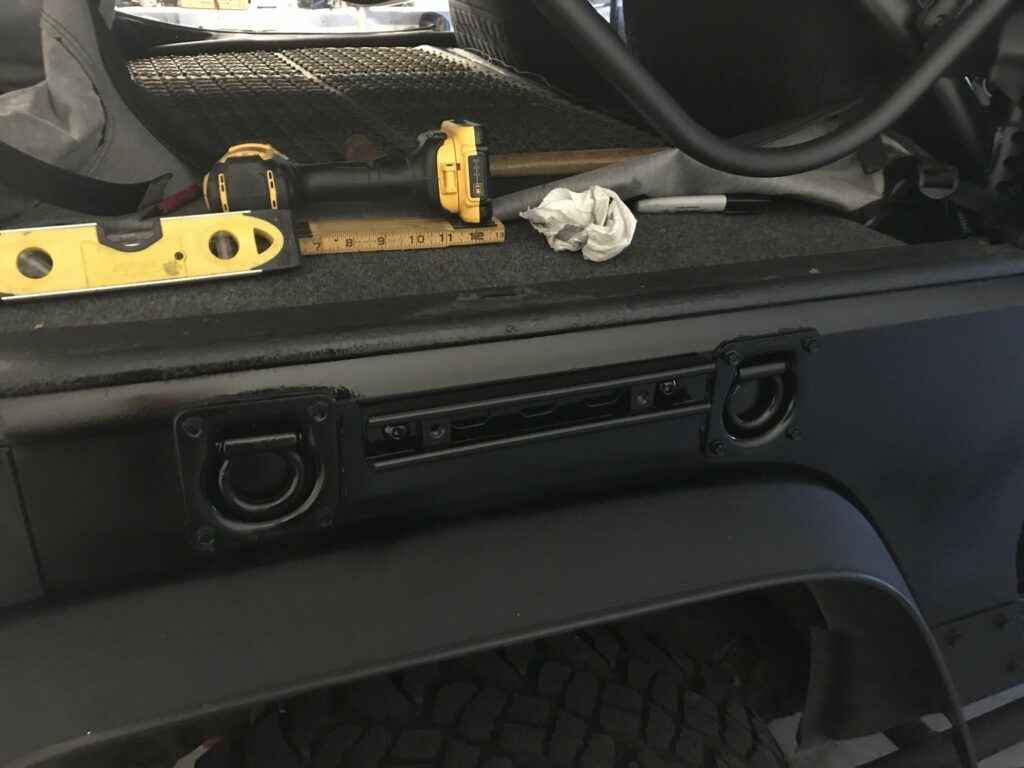
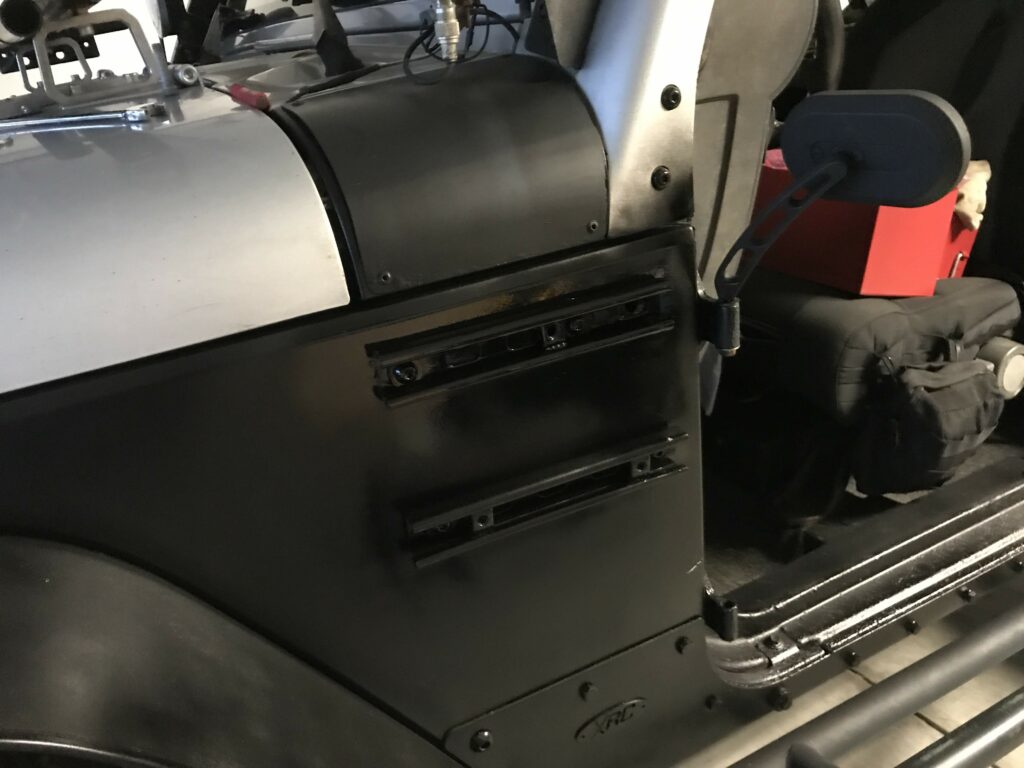
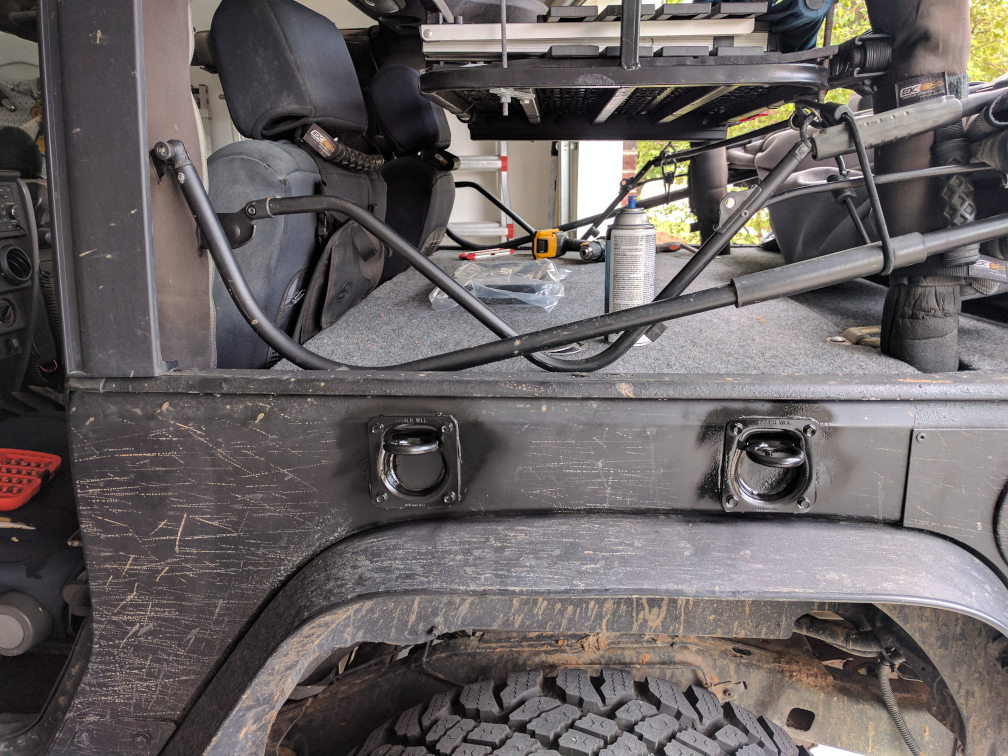
Make the same cut whatever distance you want your tie downs to be from each other. I centered them on my JEEP deck project. I used a tap to thread the metal for attachment and as always painted the cut edges and sealed it up with silicone. Paint them to match if you want.


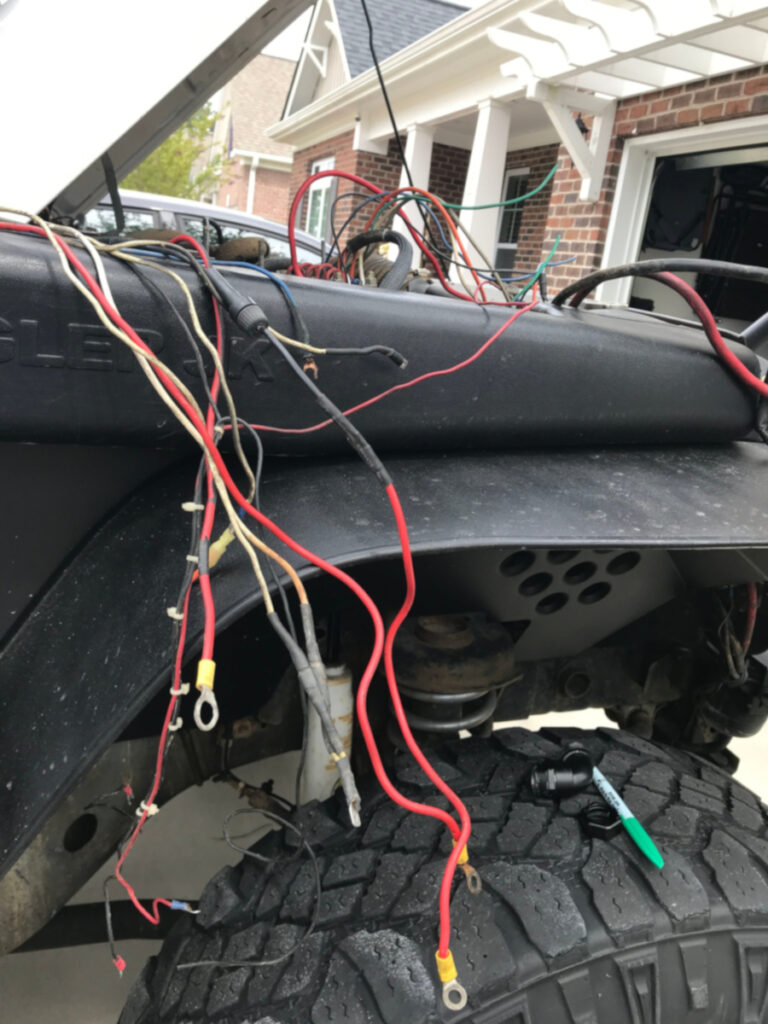
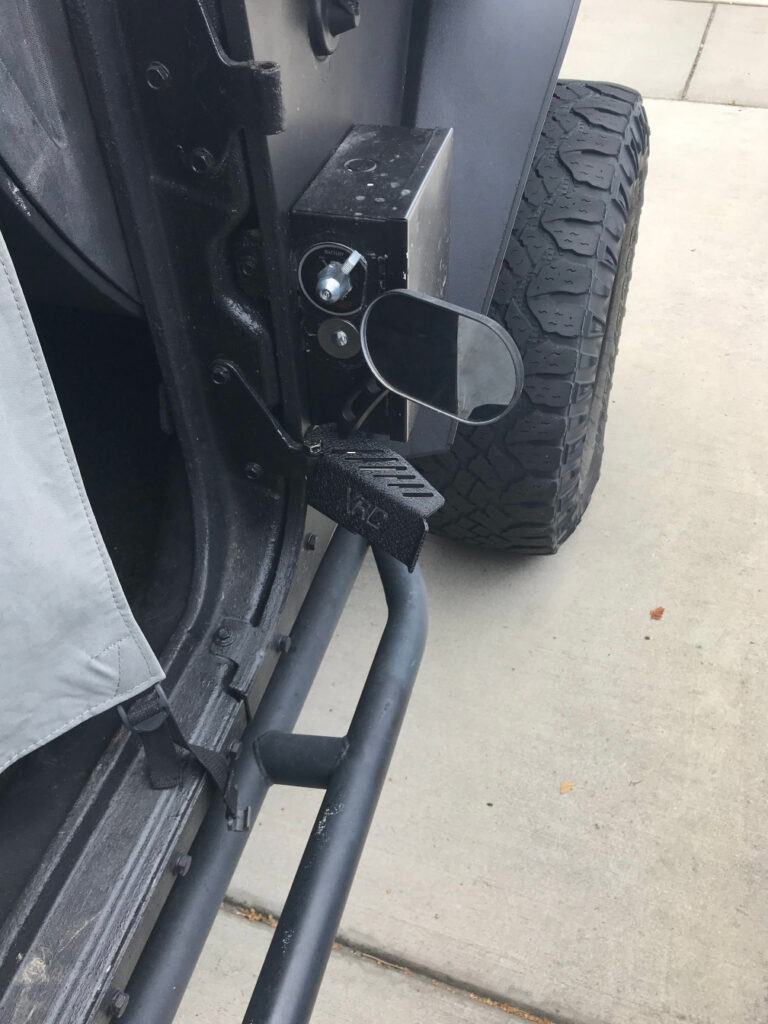
jeep.electrical
I’ve added a few lights over the years and the wiring got a little out of control. I also needed a way to disconnect all after market accessories from the electrical system to assist in troubleshooting a TIPM issue.
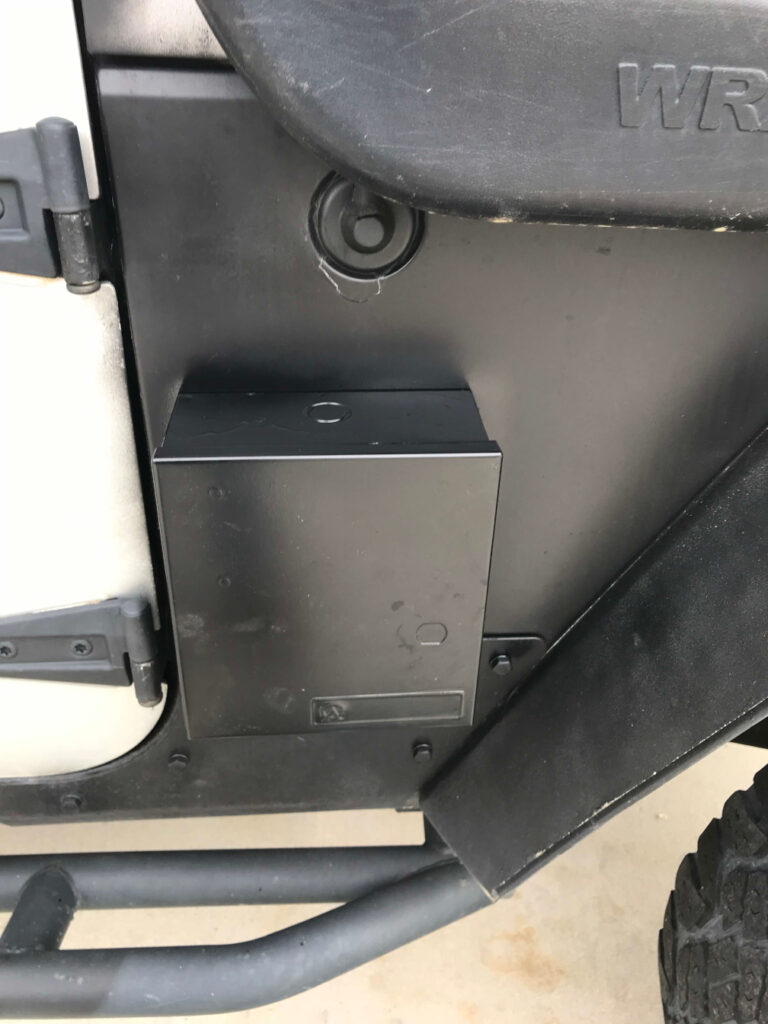
I used a spare low voltage box I had laying around, painted it black and used rivets to fasten to the jeep. I needed a box with cutouts for conduit as that was how the wiring would be installed.
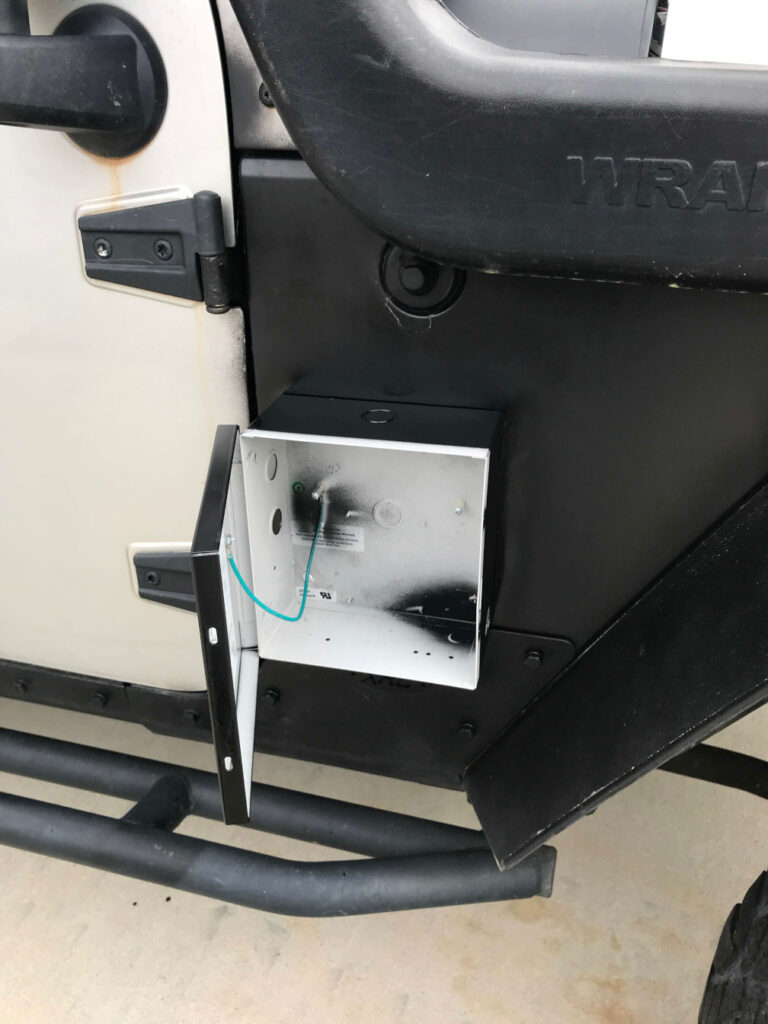
I used the side cut out to install my kill switch, drilled a 3/4′ hole into the jeep on the other side for the conduit and used the cutout on that side to fasten the 45 degree elbow.


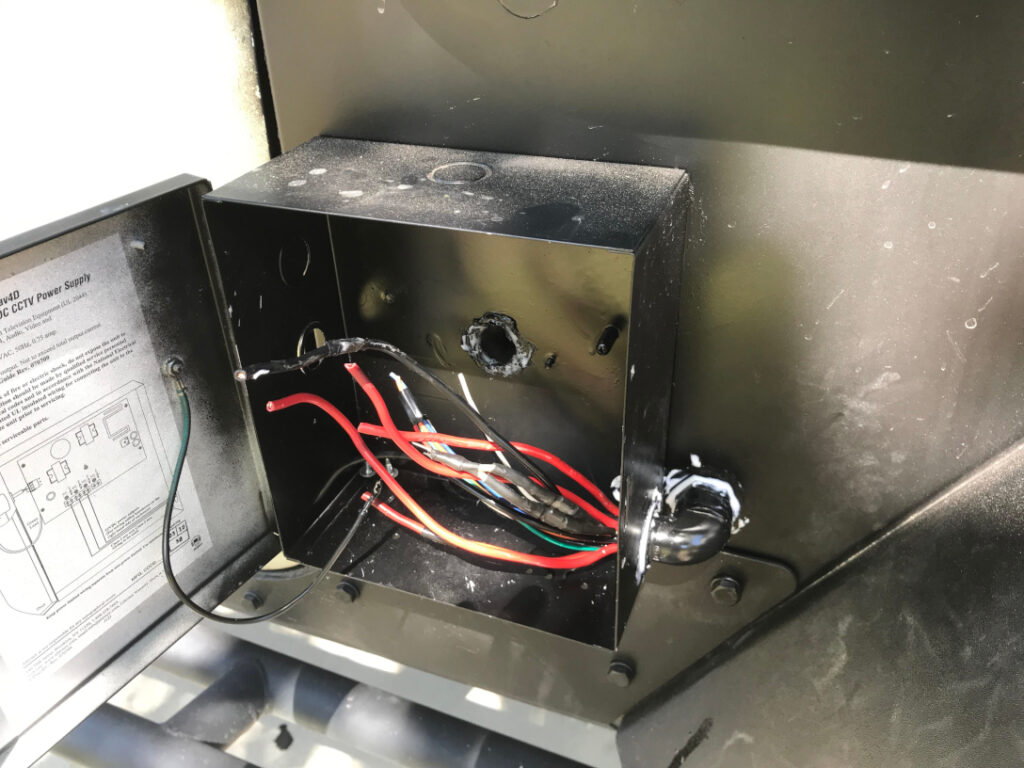
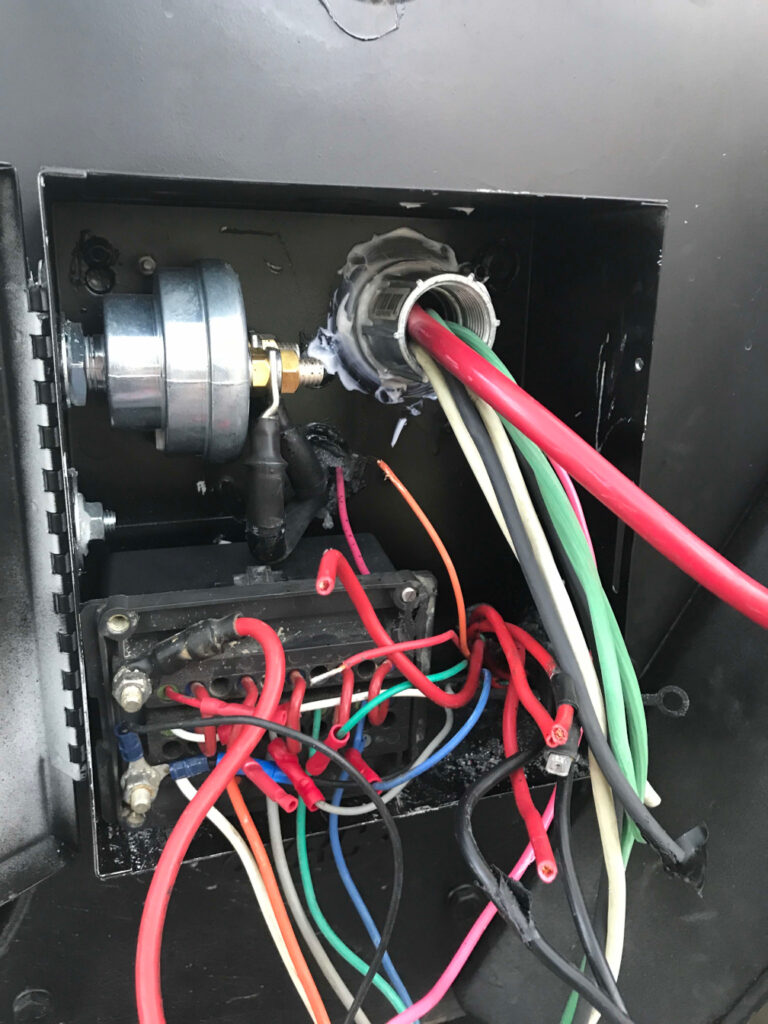
The 45 degree elbow also supports the electrical box and has the wiring for the after market lights installed through it. There is plenty of room in between the quarter panel to fit a tremendous amount of wiring.
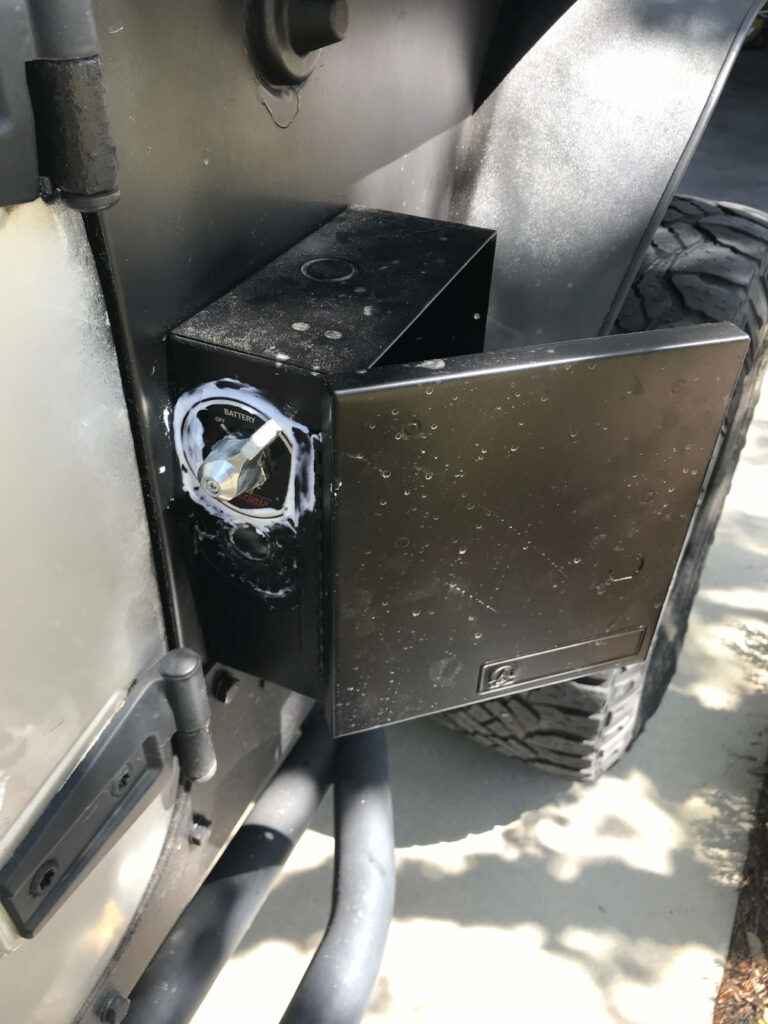
I drilled a center hole in the box and the jeep to install the 1 AWG wire connecting the kill switch to the battery. As always paint and silicone will protect the cut metal. I also grind smooth the sharp edges.
I drilled another conduit hole for a straight pipe to install a relay harness and a 1 AWG “hot wire” The straight pipe is threaded which also supports the electrical box.

jeep.deck
I needed a method to load up the jeep with supplies for the beach, offroading, general travel or work. I wanted the rear of the jeep to have protected and secure storage as well. Use of a tonneau cover and the soft top with the deck was a driving force in the design. If that is not a consideration you could attach it on top of the tub much easier than how I did it. Using 12 gauge super strut, 5/8″ and 1/2″ bolts I had laying around, right angle (90 degrees) “L” brackets, strut spring loaded nuts, weatherproof carpet remnants, glue and paint. You will need to remove the rear seat or push it forward to install this deck.
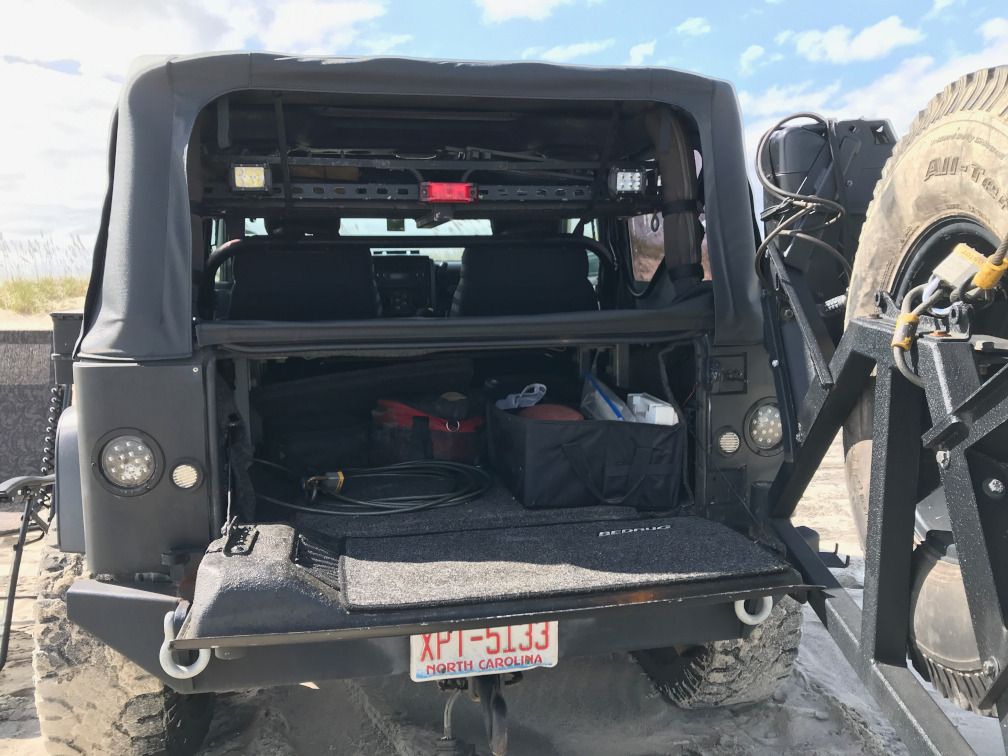
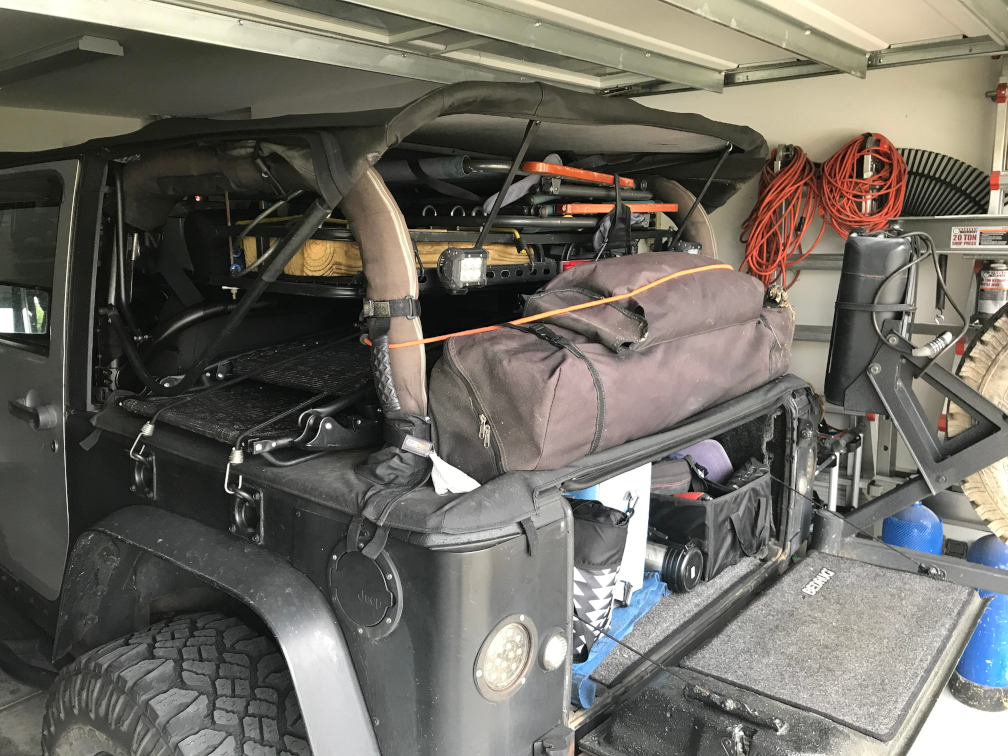
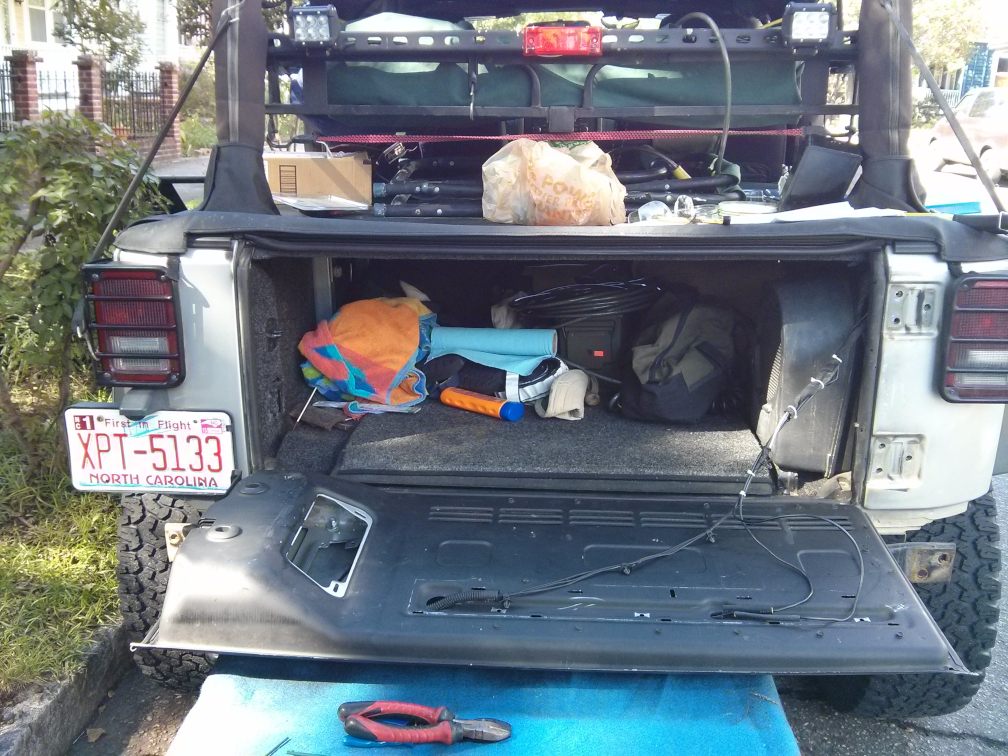
The above are some examples of loading up the jeep.
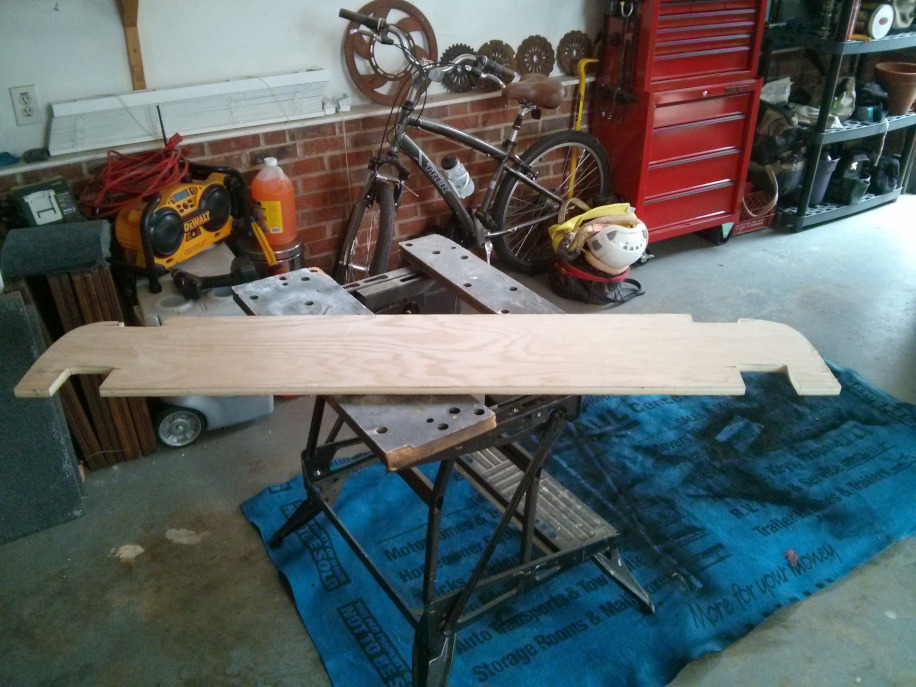


The rear piece was my first task. Careful measuring to make the cuts to fit around the sport bar and leave room for the rear tailgate bar so the rear window can still be used. Once my cuts were complete and the fitment was tested I painted and glued / stapled weatherproof carpet to it.

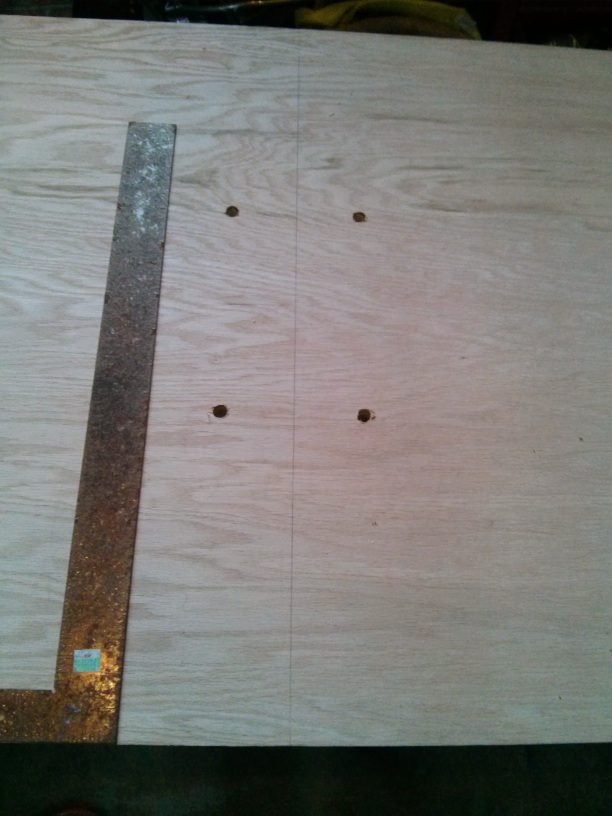
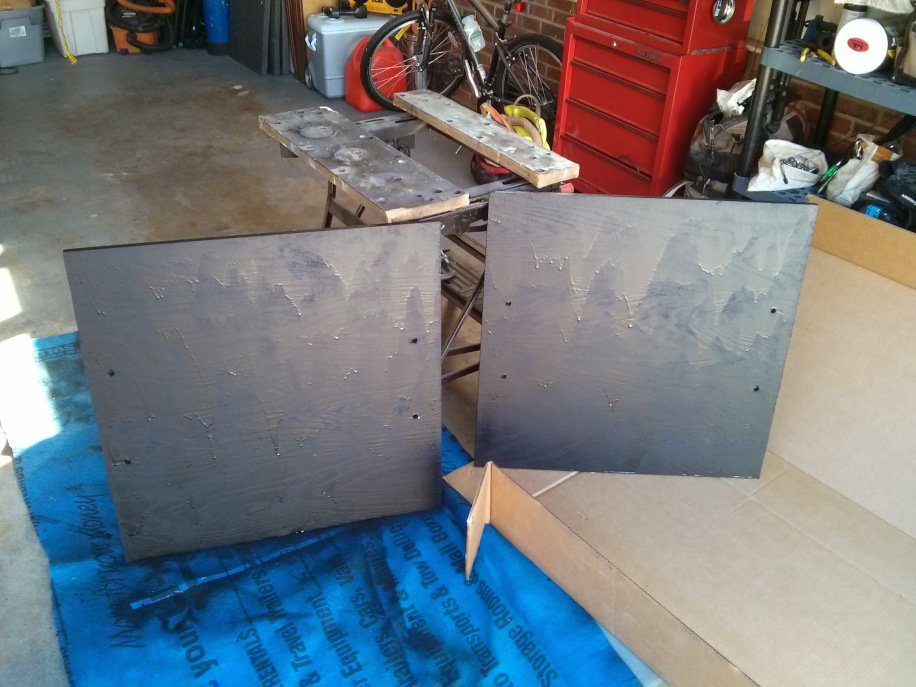
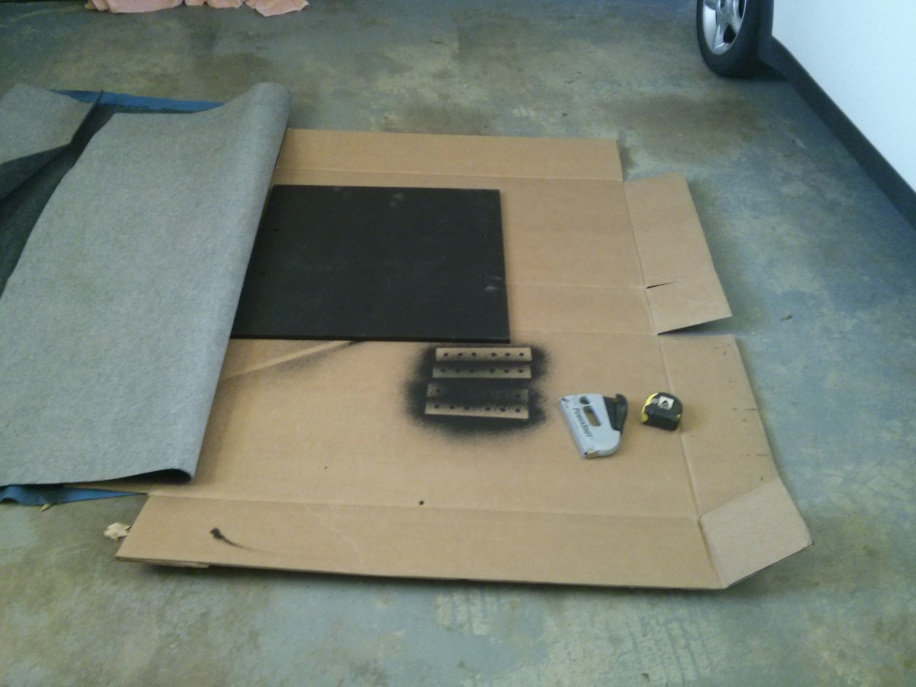
Next I used 3/4″ plywood, some tower parts I had laying around, more paint and outdoor carpet remnant. I cut the plywood in two pieces because I needed it to install between the tub and the inside body. Installing it in this manner allows the use of my tonneau cover and softop with the deck installed. Once the cutting, painting and carpet work was complete I moved on to building the frame.

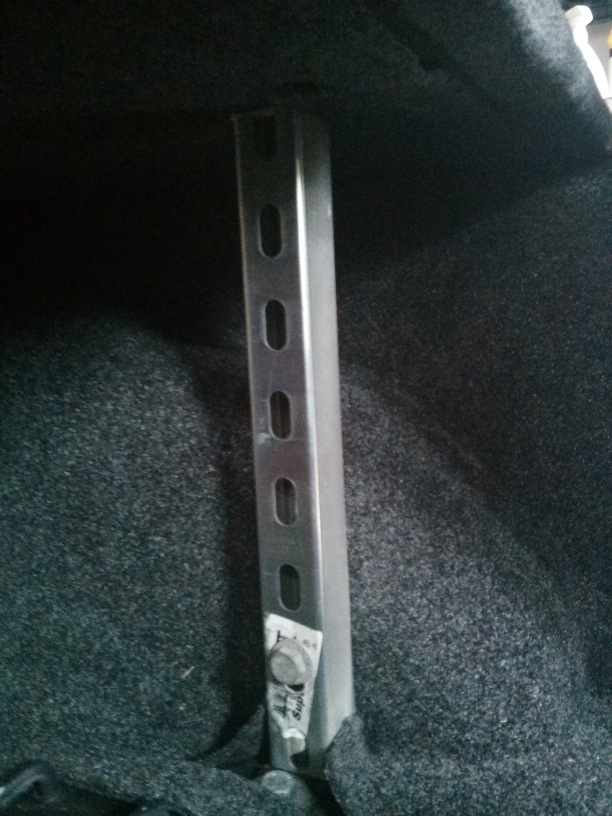


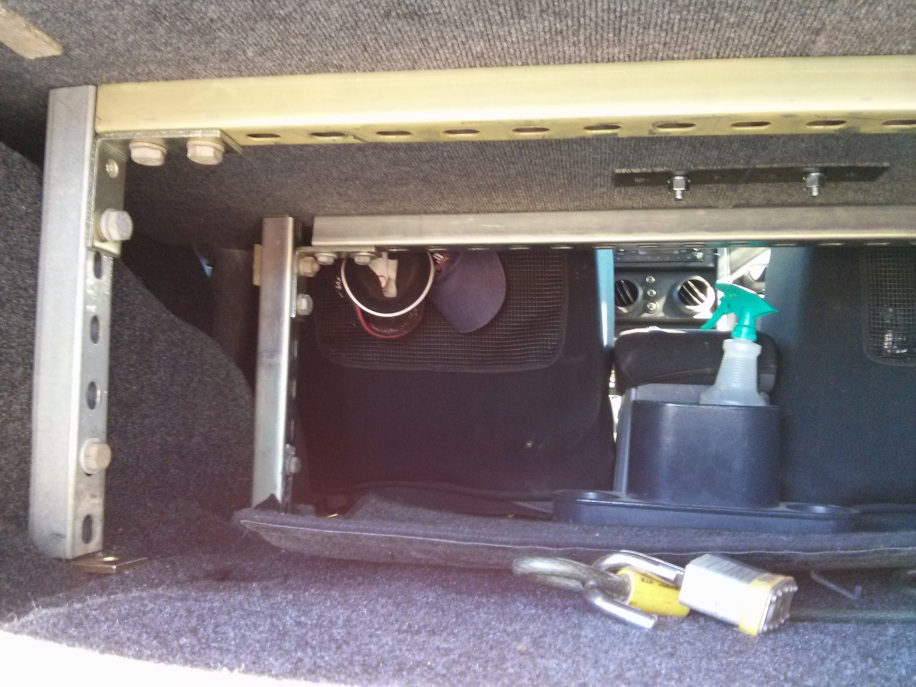
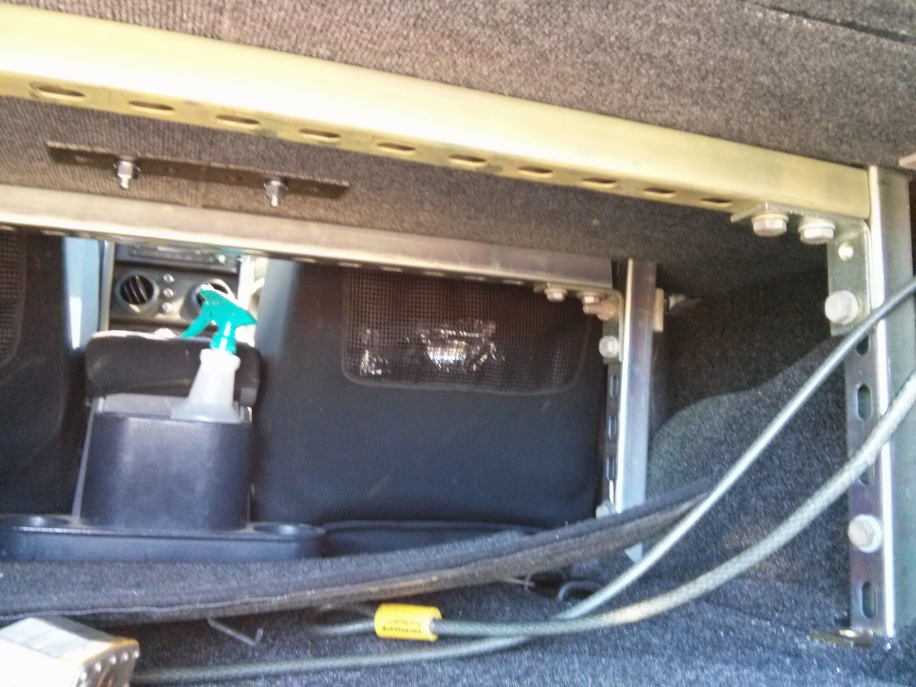


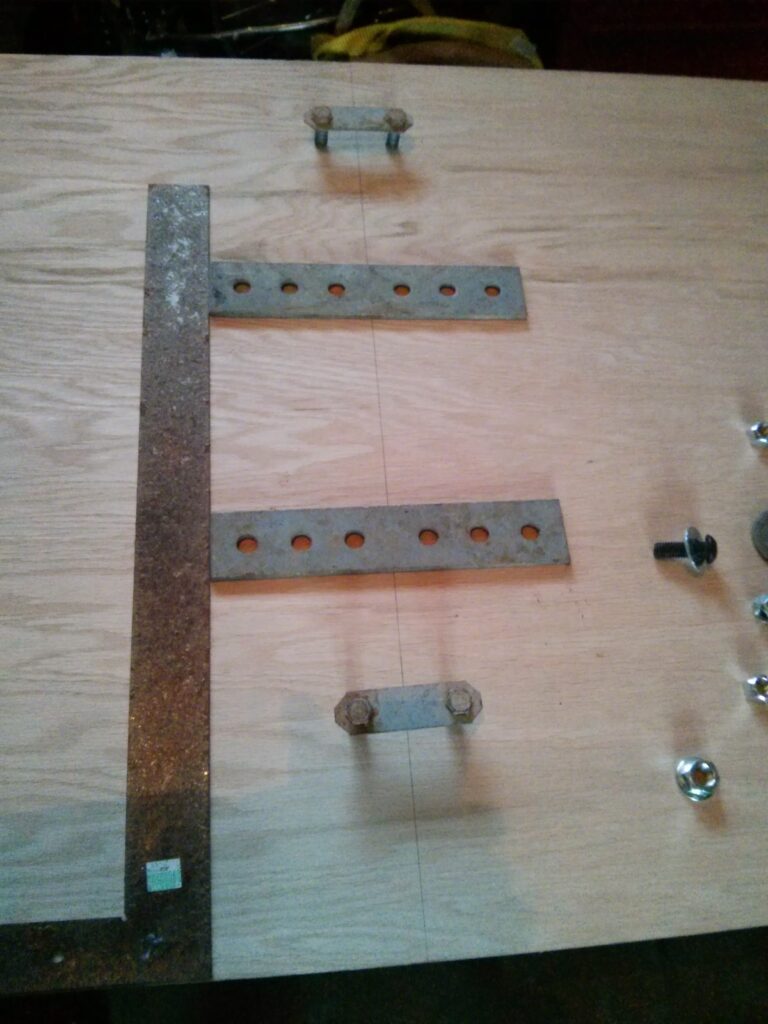
I used 12 Ga. super strut for the frame and connected it all together using 5/8″ and 1/2″ tower bolts and various extra tower parts I had laying around. To make the deck very strong (stand on top type stuff) I drilled through the tub and anchored the “L” brackets (more spare tower parts) with 5/8″ bolts through the top and bottom of the tub. I labelled the strut parts for when I remove the deck for yearly hose out and repair. Once the frame was in and bolted down it was easy to put the pieces all in place and bolt everything together. I was going to hinge the back part for easy access but I haven’t gotten around to it yet.
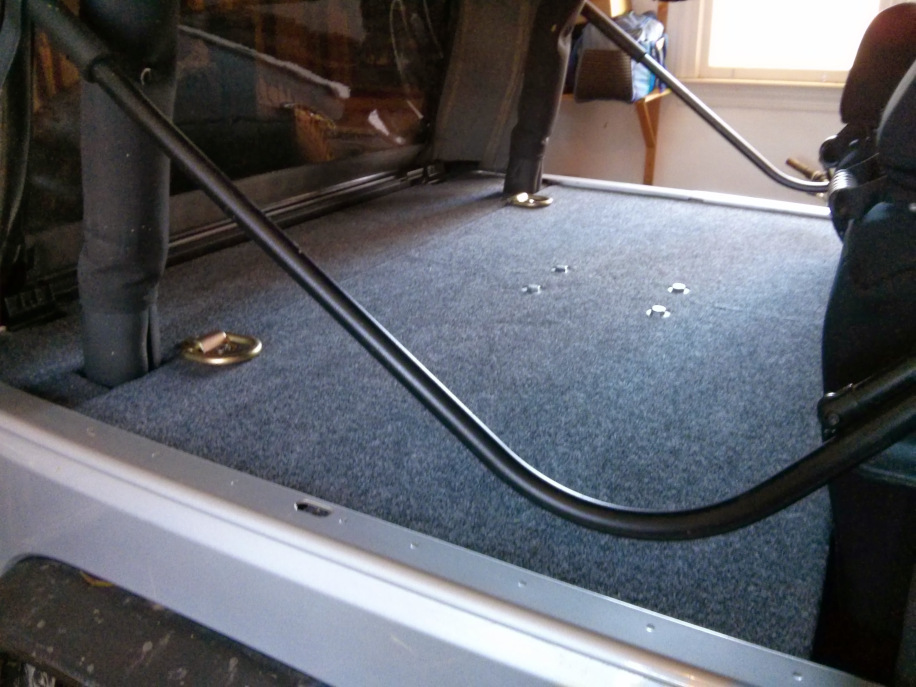
Finished result